安裝Python環境(Miniconda)
開啟Chrome (or any others browsers) 下載 Miniconda。Miniconda 是 Anaconda 的輕量版本,使用它是為了彈性調整 Python 環境,開發人員常常會有Python pip/pip3 被自己搞壞的經驗。使用它可以重複的建立、切換、自定義 Python 環境,若環境損壞只需要在建立一個虛擬環境即可!
首先,開啟Miniconda的下載頁面
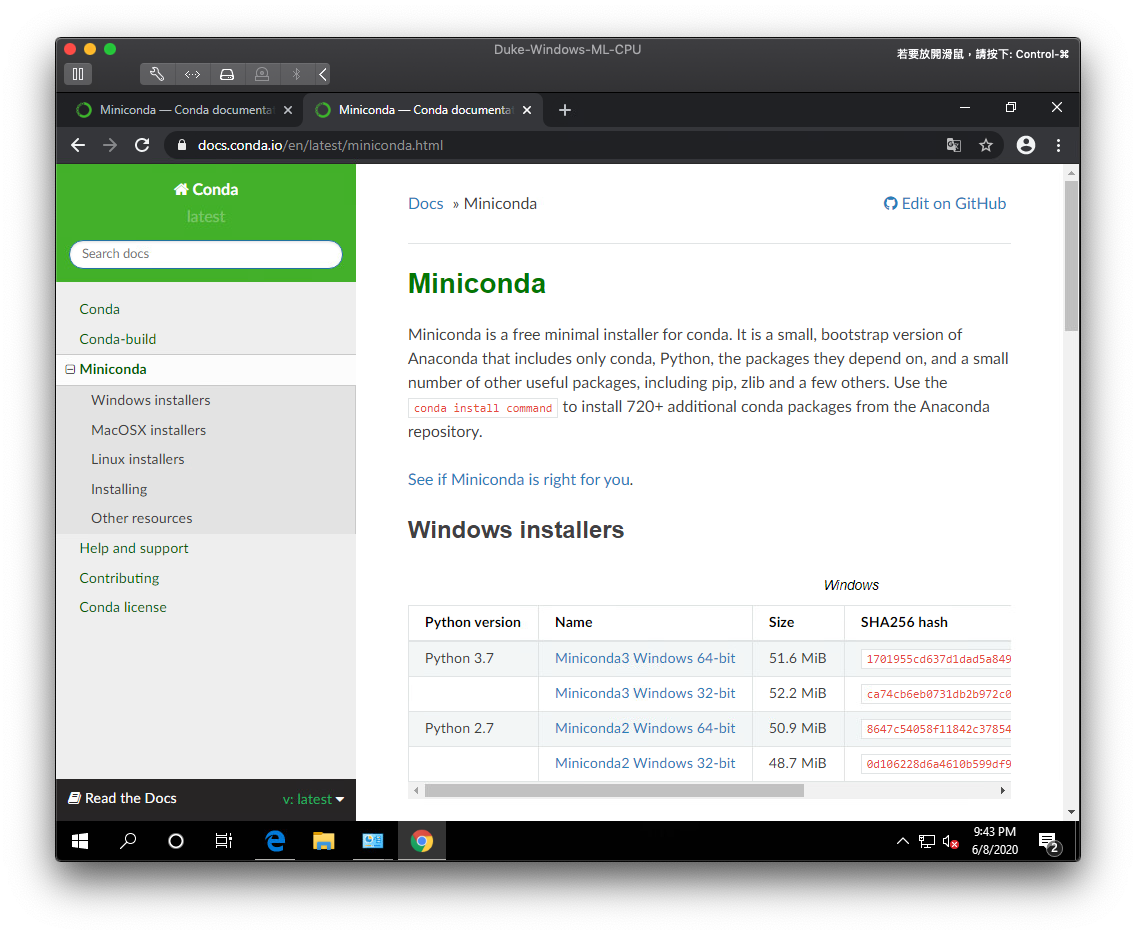
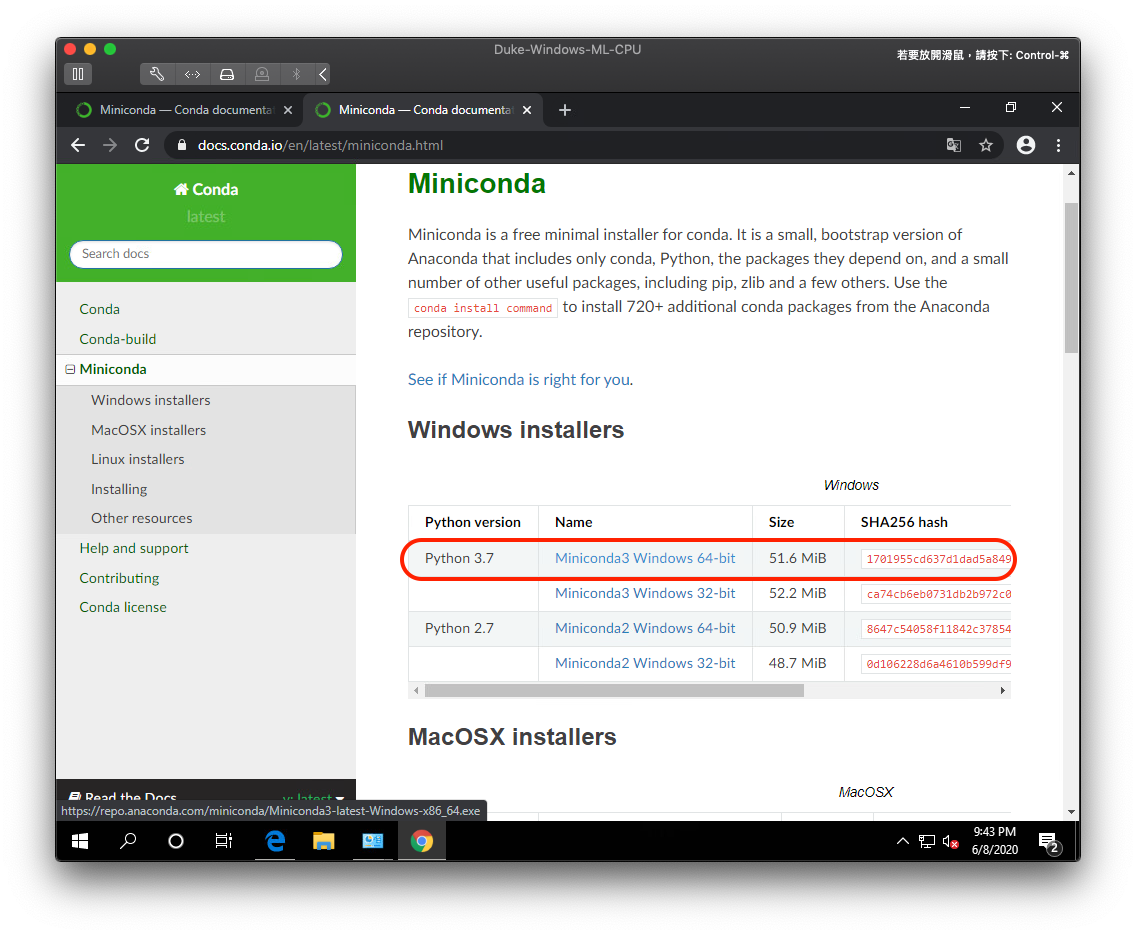
選擇下載64位元的Miniconda(Python 3.7)版本
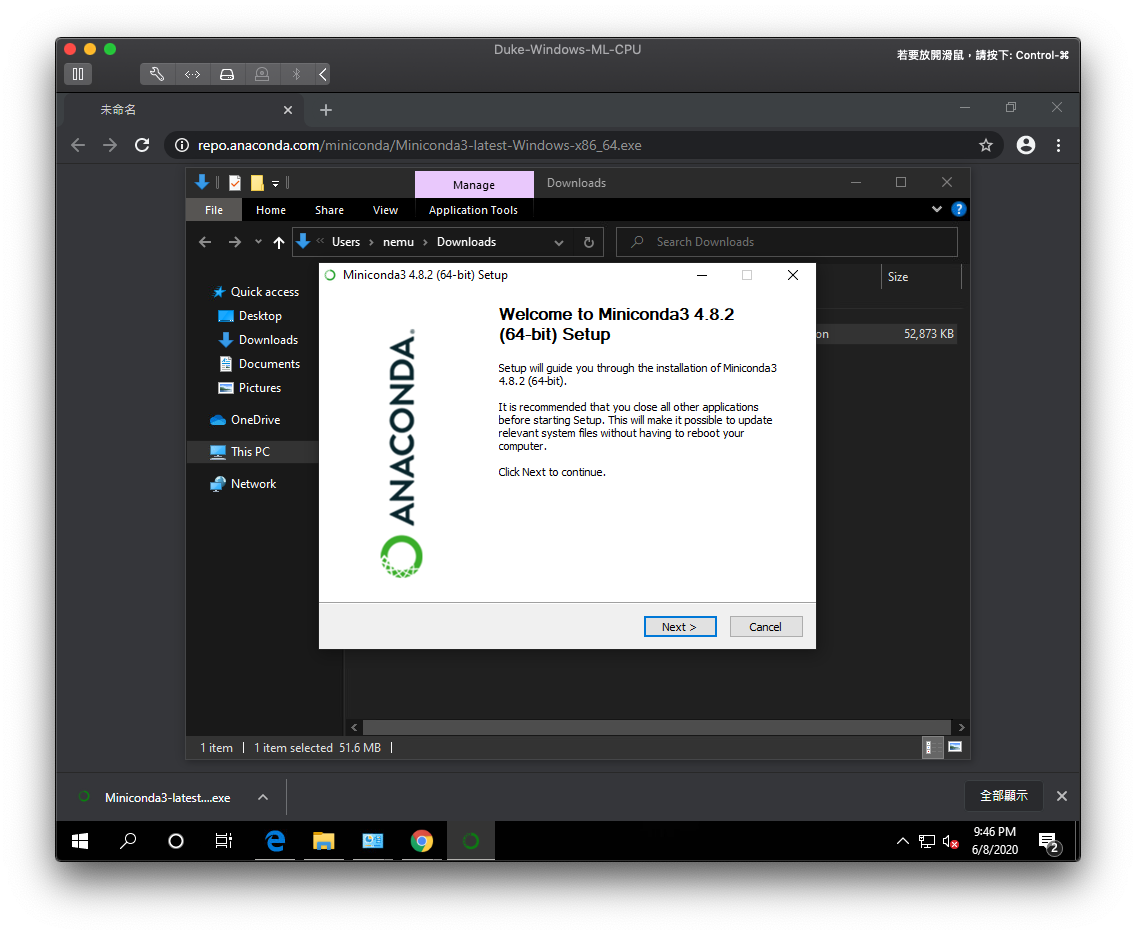
安裝Miniconda它,點選『Next』
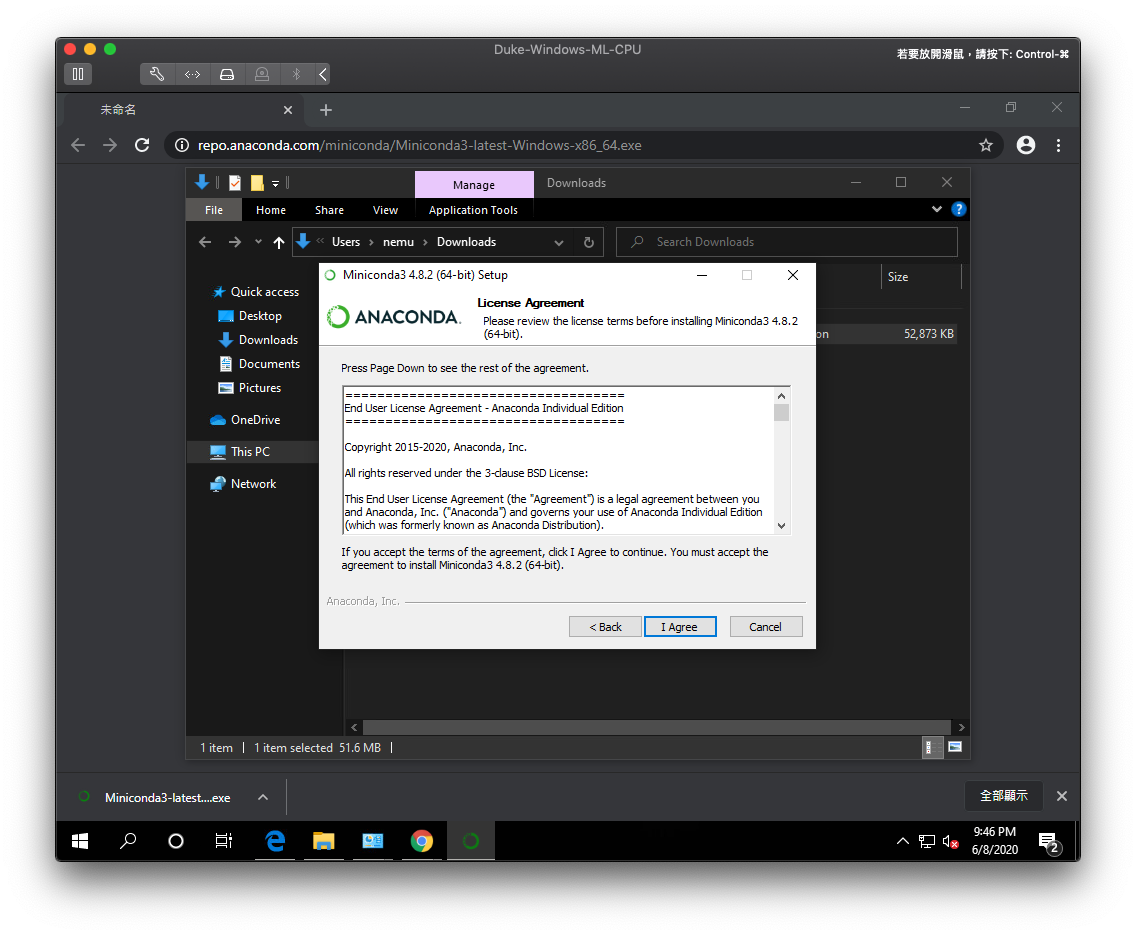
同意 User License Agreement,點選『I Agree』
選擇『Just Me』、『Next』

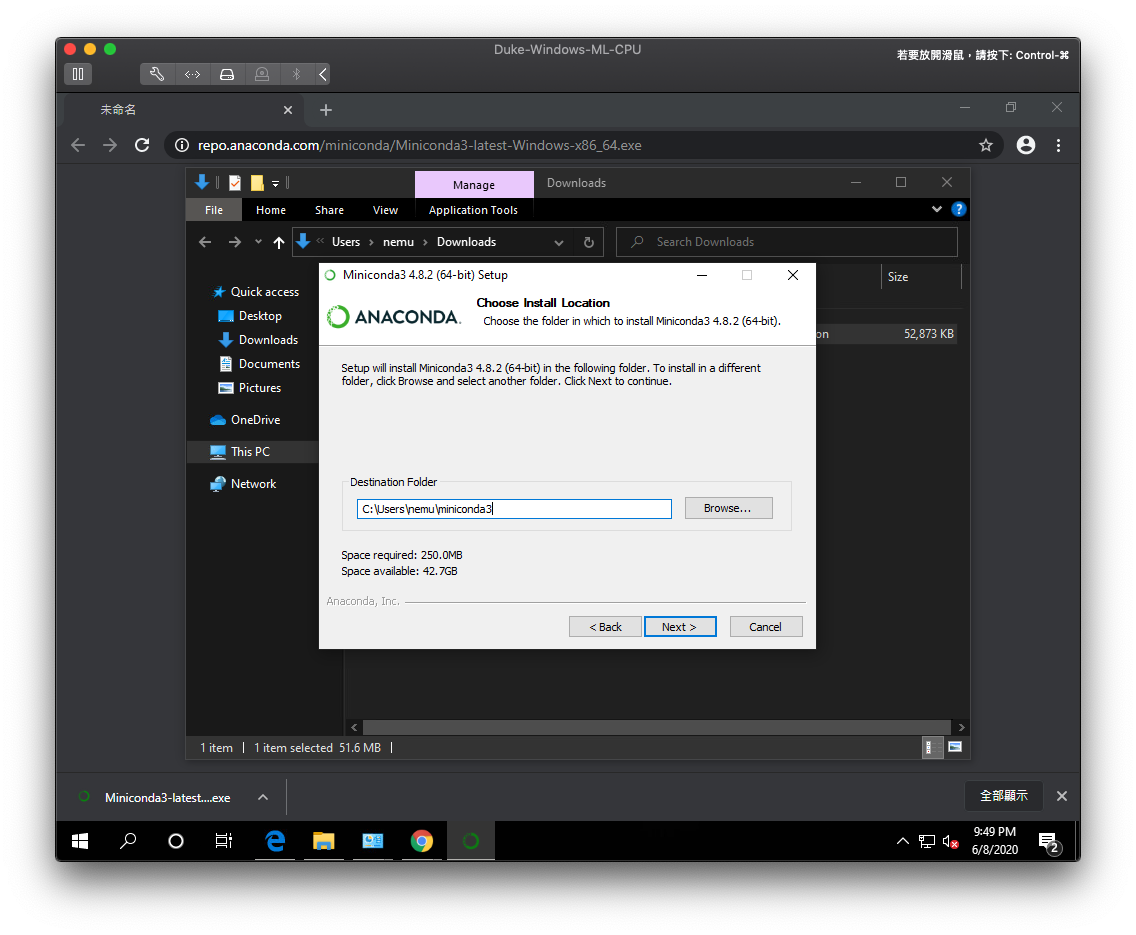
選擇安裝位置,這邊我採用預設值,也可以依個人習慣點選『Browse .. 』選擇其它安裝位置,『下一步』
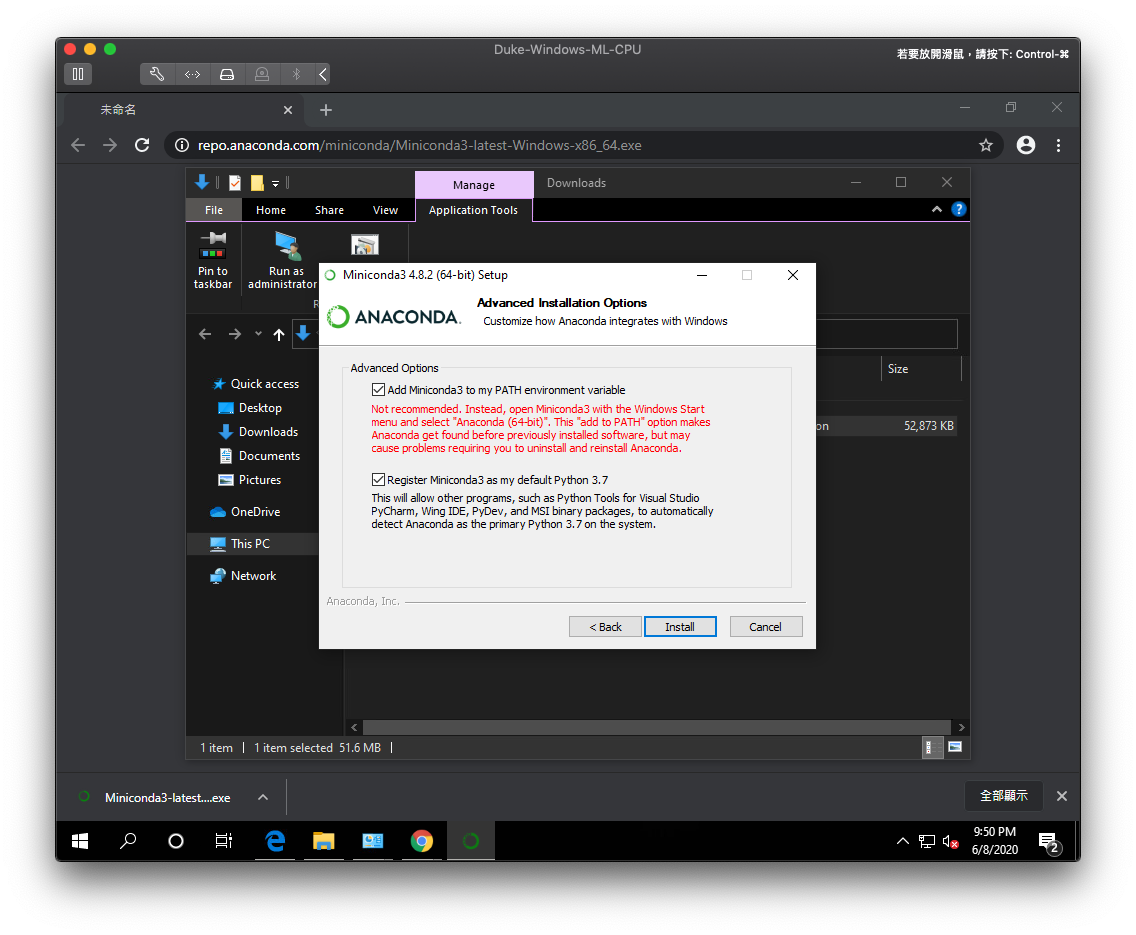
將兩個選項都勾選起來,預設中只勾選了下方的『Register Miniconda3 as my default Python 3.7』,勾選『Add Miniconda3 to my PATH environment variable』是為了讓使用者可以在Command Line 中使用Conda 函數,在後續建立 Python 虛擬環境時會用到,所以我們將它勾選起來
等待安裝完成 .. 安裝完成後選擇『Next』
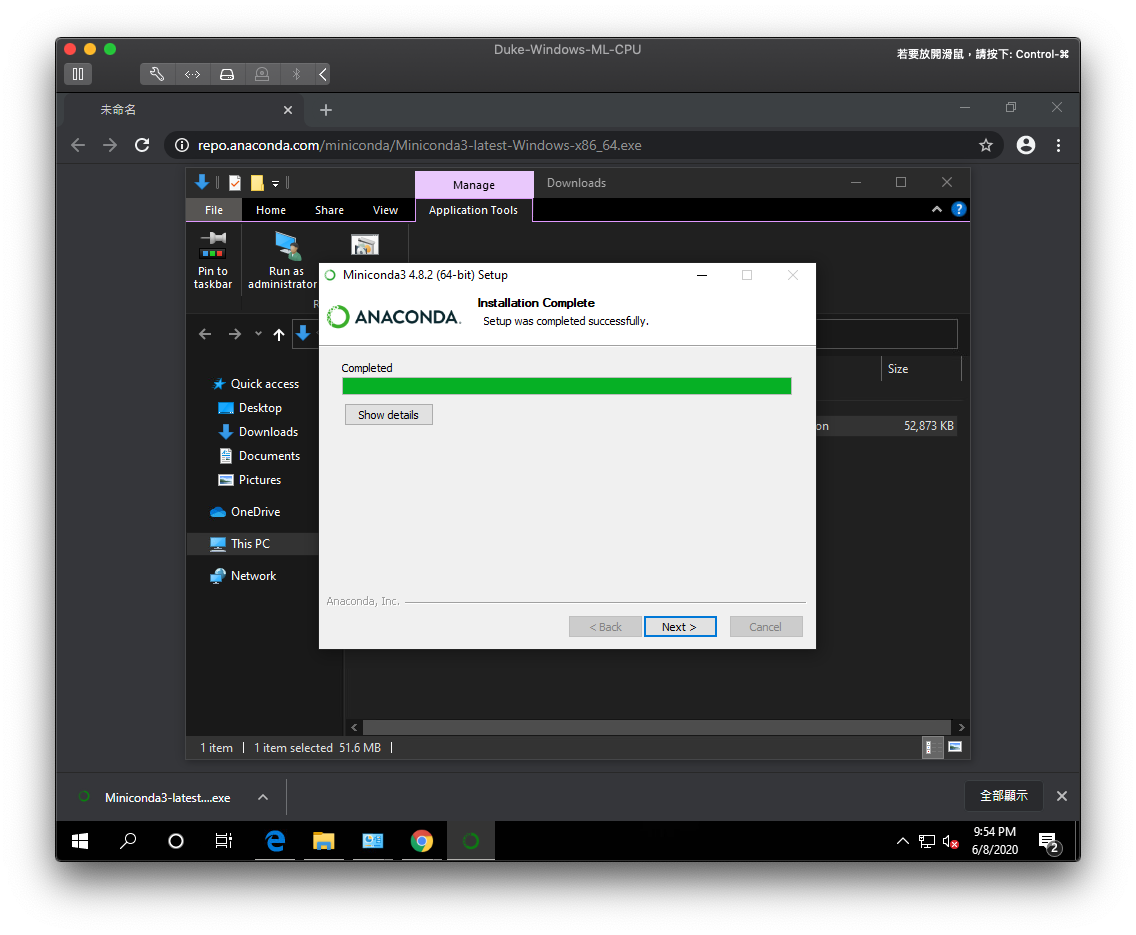
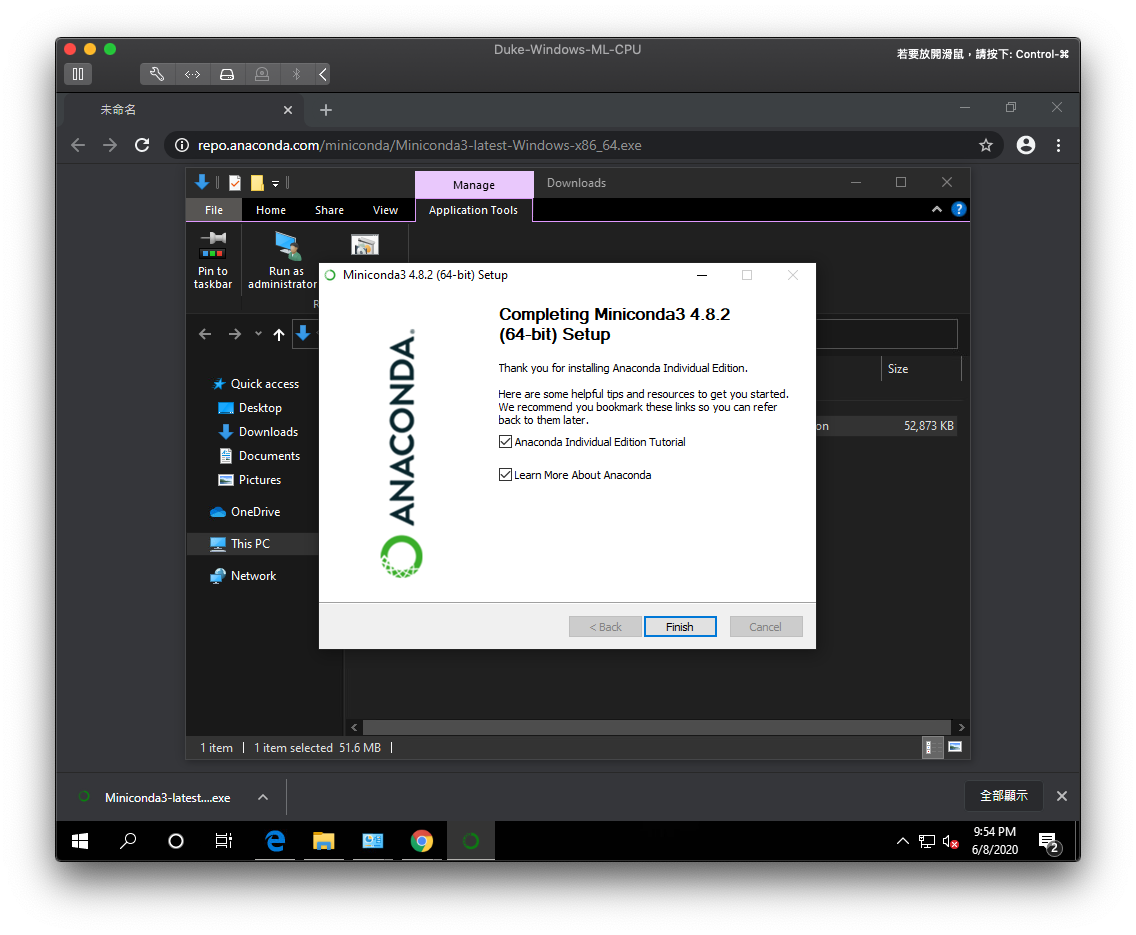
這樣就安裝完成了,按下『Finish』吧!如果對使用文件有興趣也可以閱讀一下哦!
建立 Miniconda 的 Python 虛擬環境
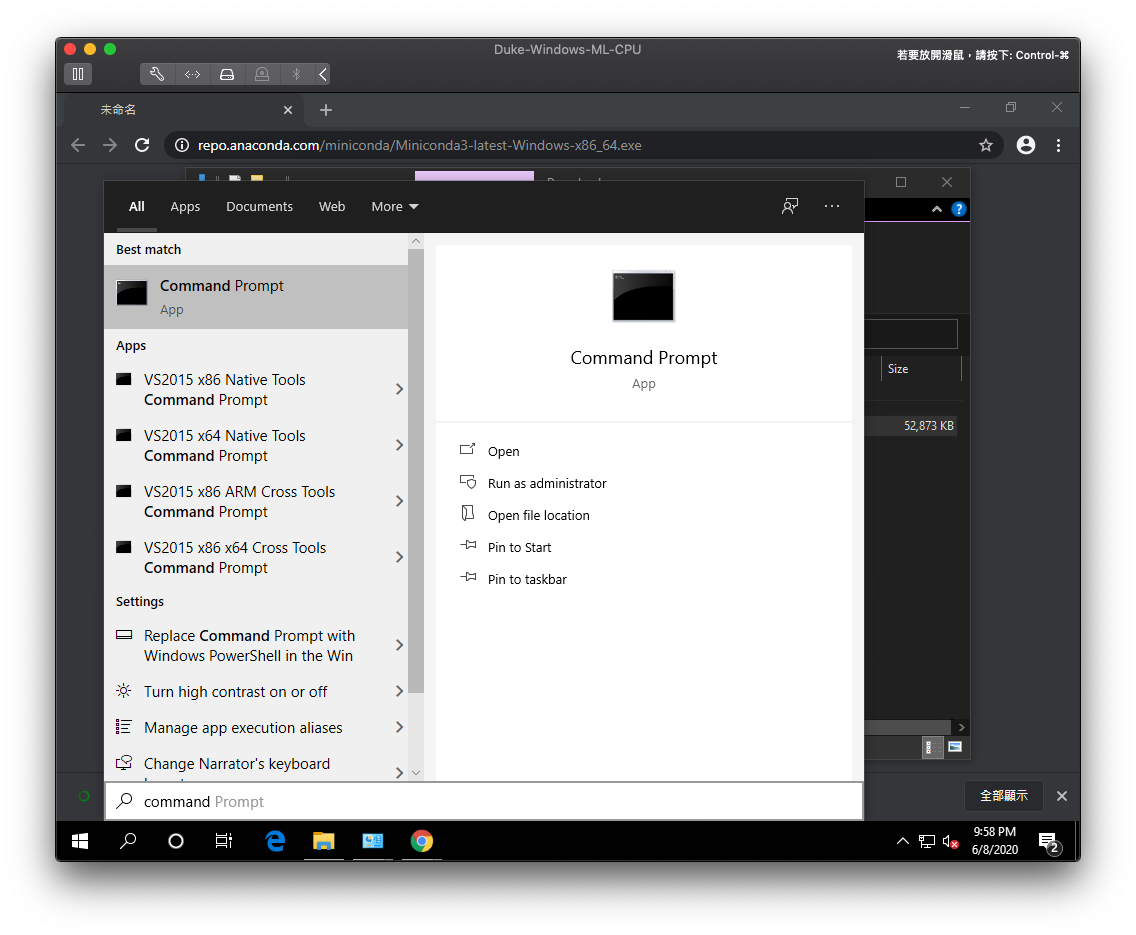
接下來我們來建立 Miniconda 的 Python 虛擬環境,首先我們需要開啟 Command Line ,點選 Win 之後搜尋『Command』就會出現啦!
黑黑的視窗看起來挺神秘的 ..
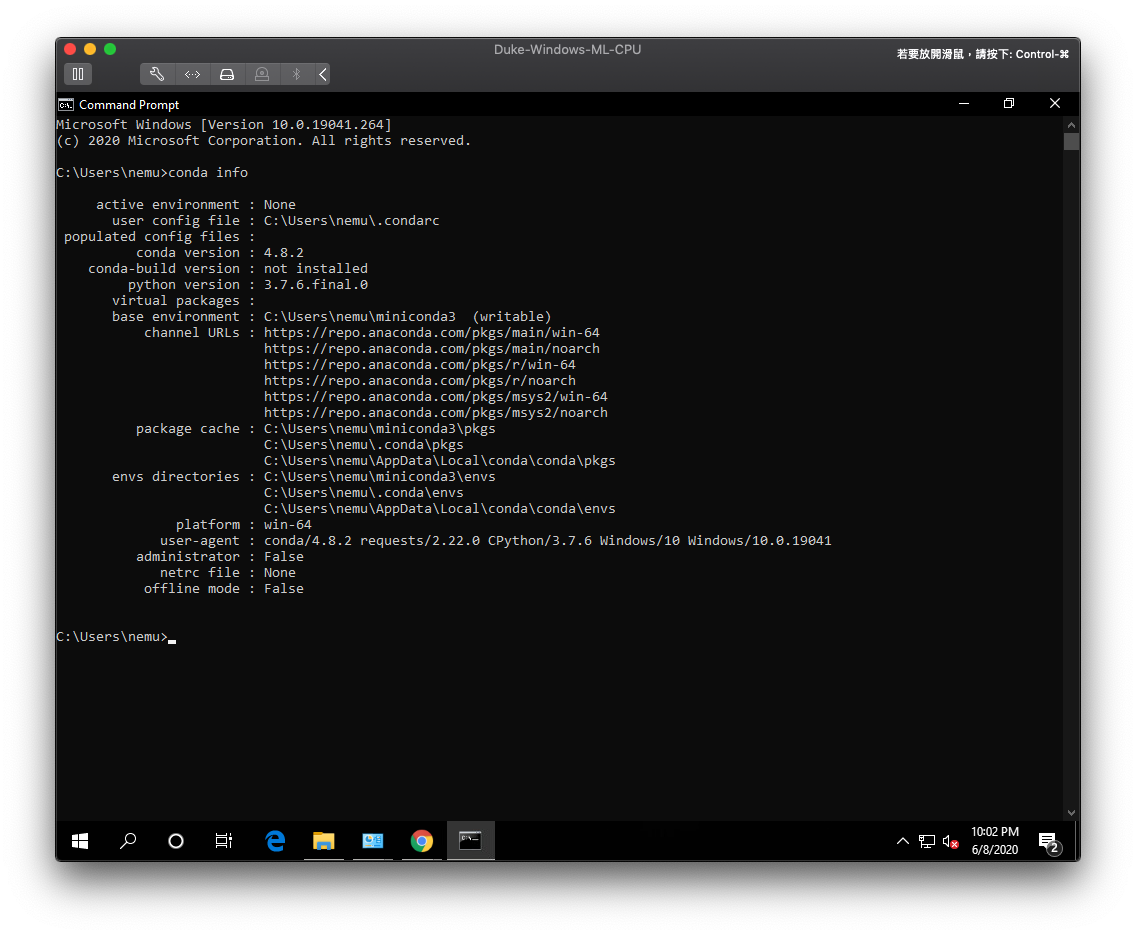
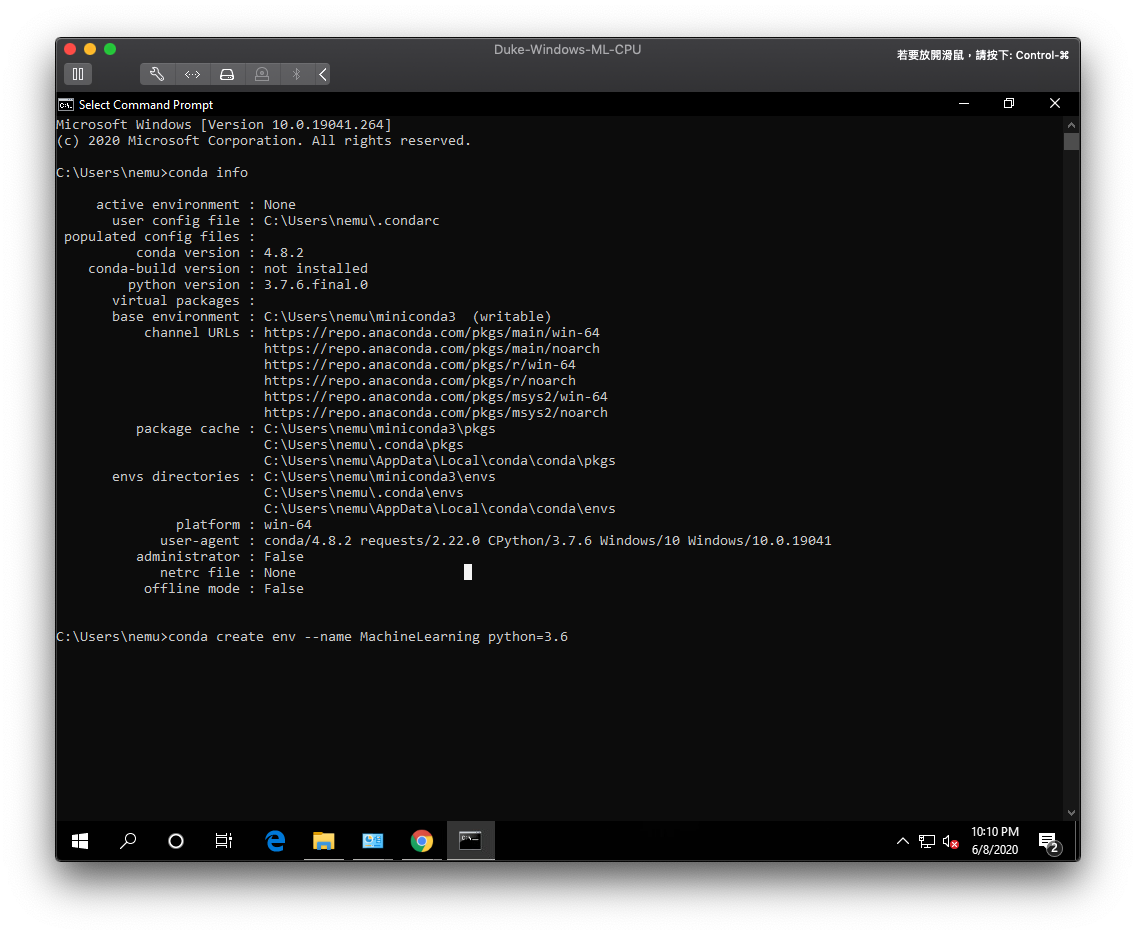
我們輸入 conda info 確認剛剛安裝的 Miniconda 是否有安裝成功吧!
嗯 .. 版本號等等資訊都出現就代表成功安裝啦!如果出現 command not found : conda 的話,代表你沒有將 Conda 加入系統環境變數哦,請回頭確認安裝步驟吧!
Conda 在預設情況下會有個『Base』的 Python 環境,但我們不要使用它,我們要用我們自己建立的虛擬環境,輸入 conda env list 可以看到我們目前安裝了哪些環境
接下來輸入,這邊我指定了虛擬環境的名稱為『MachineLearning』,並指定Python版本號為『3.6』版
1 | conda create --name ml python=3.6 |
Usage :
1 | conda create --name <輸入任何名稱作為該虛擬環境的名稱> python=<版本號> |
這樣就開始安裝了!
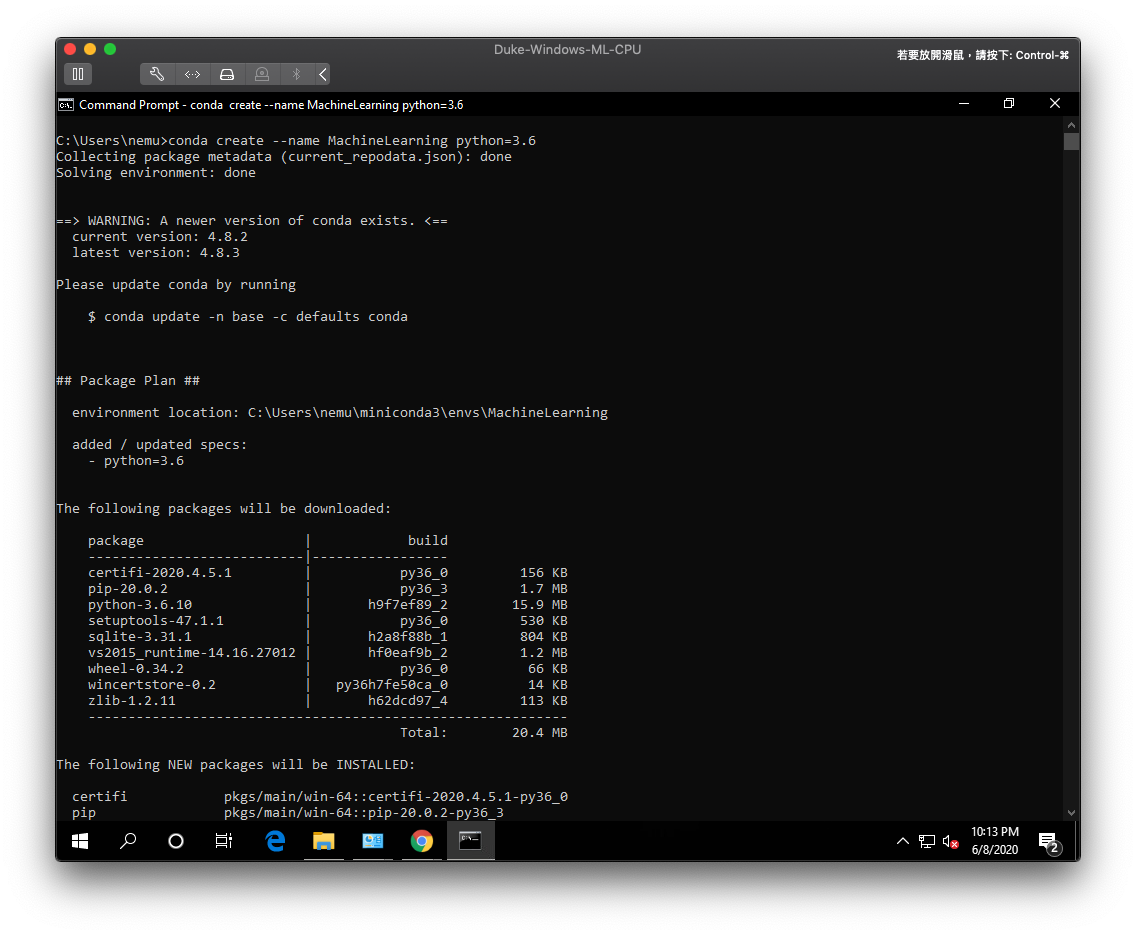
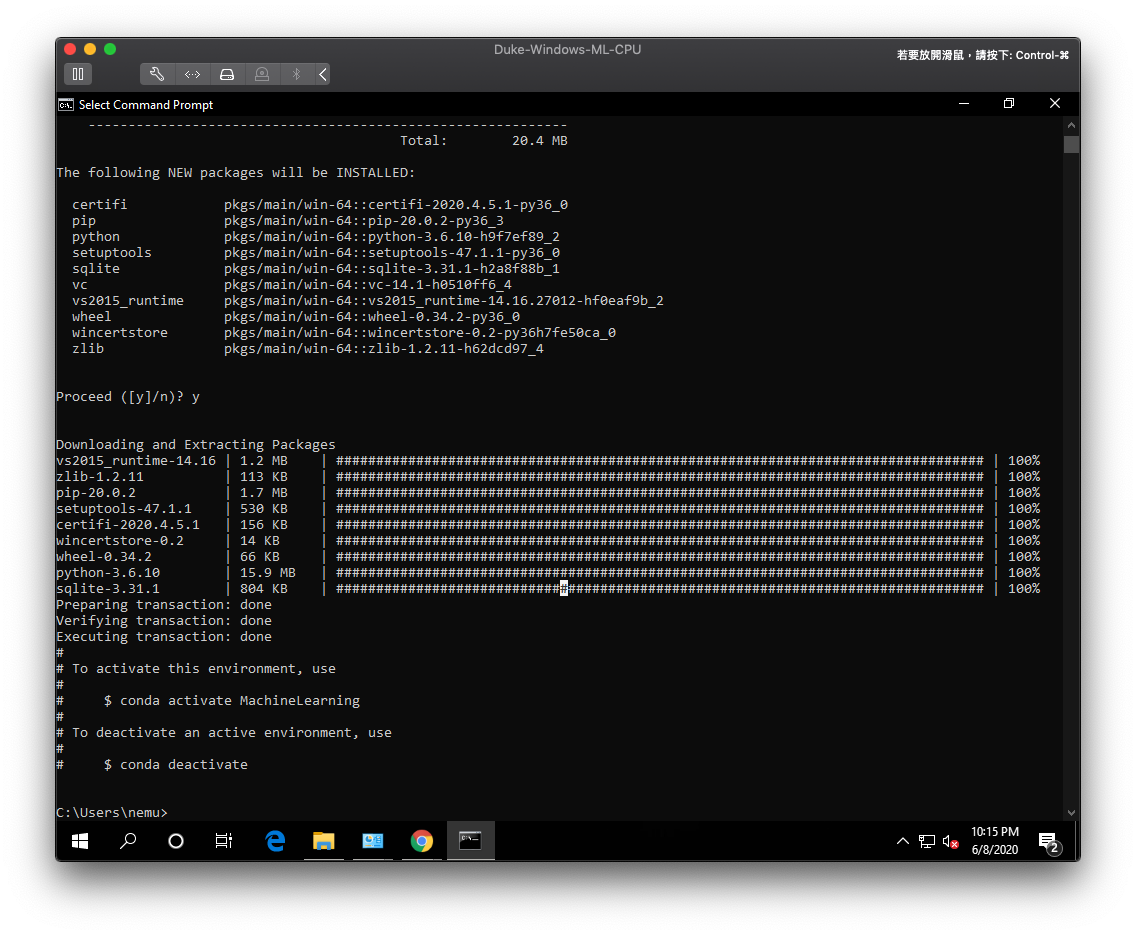
它問我是否要安裝 .. 當然要呀!輸入 y
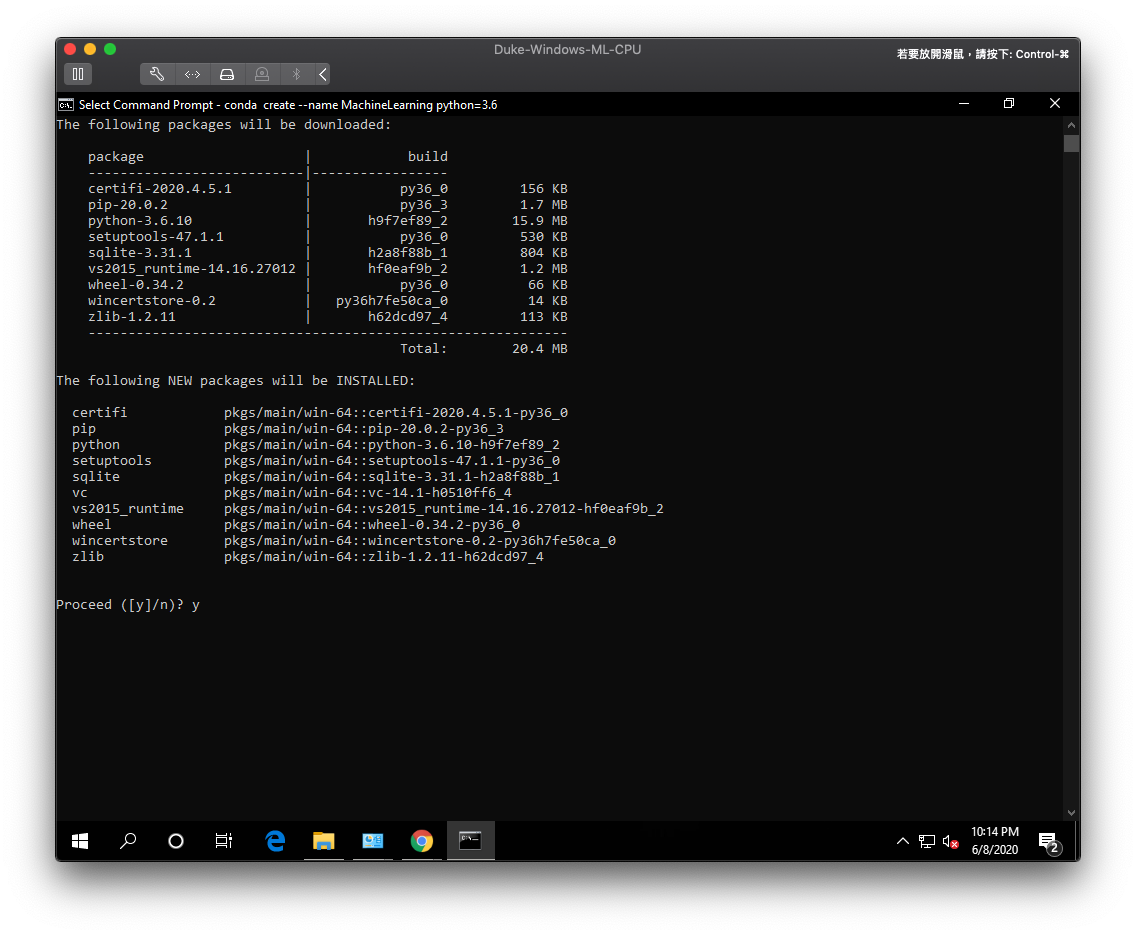
安裝中 ..
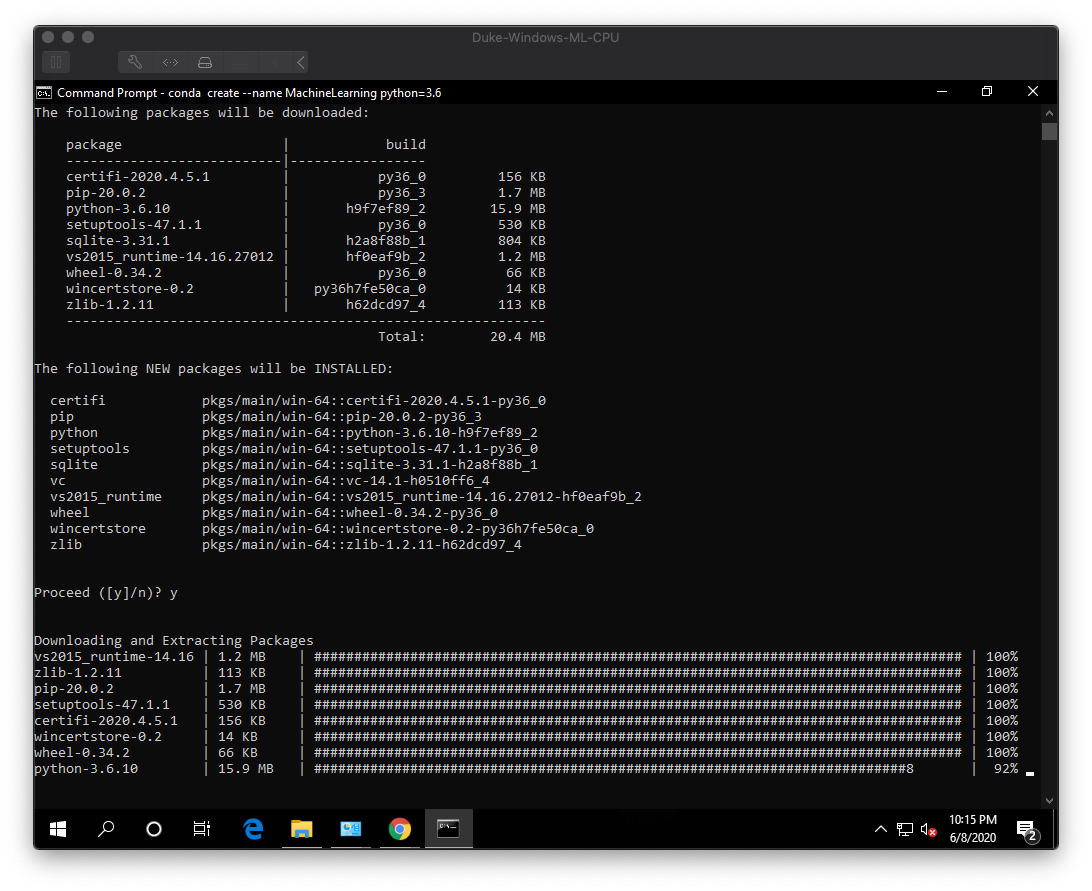
安裝完成
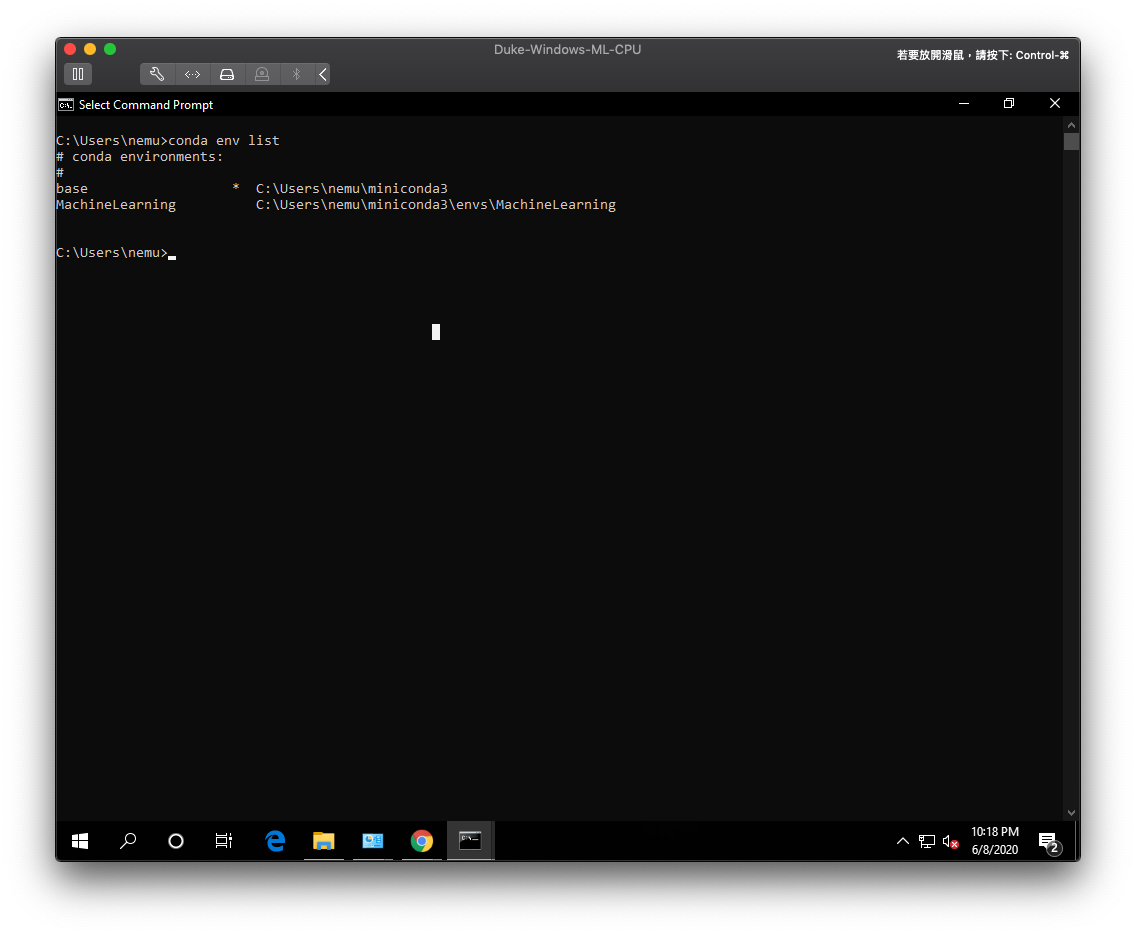
再查看一次我們所有的 conda env 環境吧,新出現了一個 MachineLearning 環境了!
1 | conda env list |
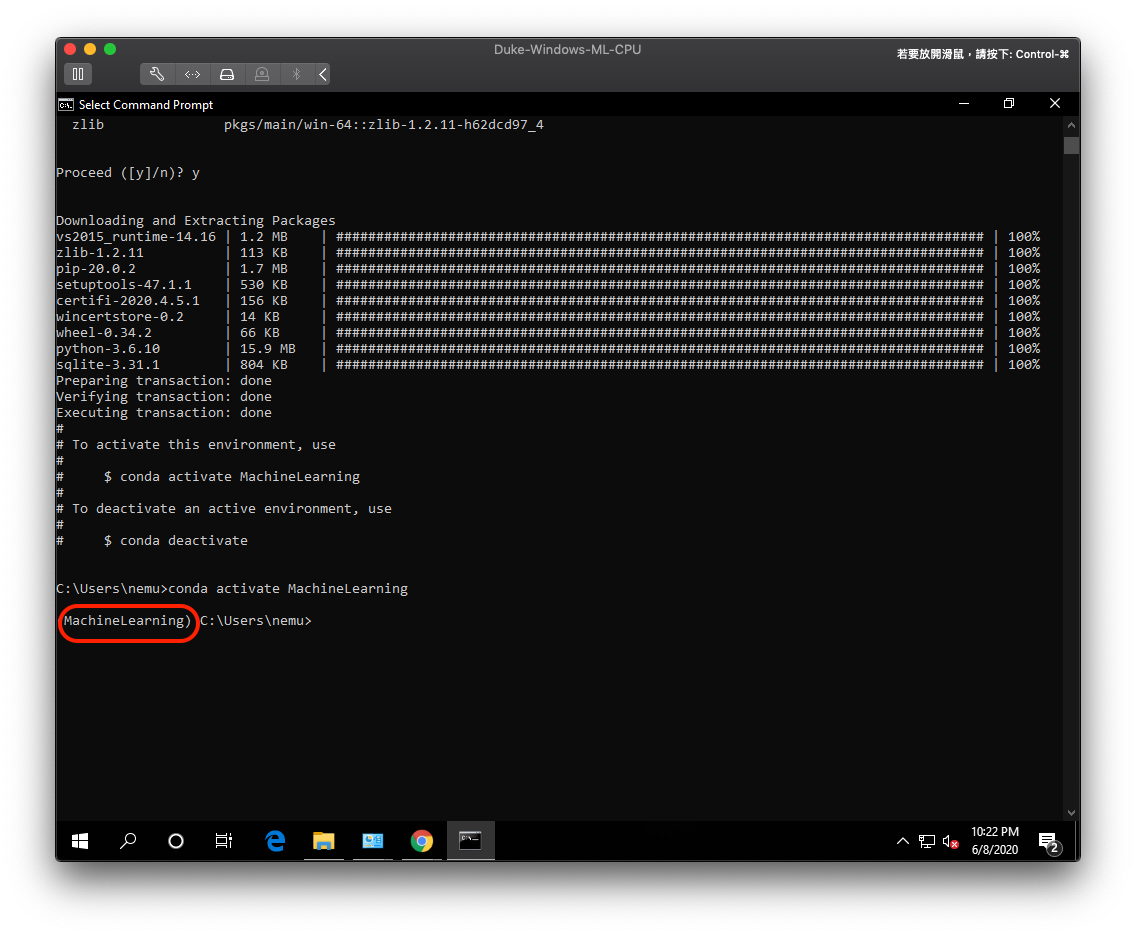
輸入 conda activate MachineLearning 來啟動它吧
1 | conda activate MachineLearning |
這樣就啟動了,前面還會帶一個 (MachineLearning) 來提示我們目前是在哪一個環境哦
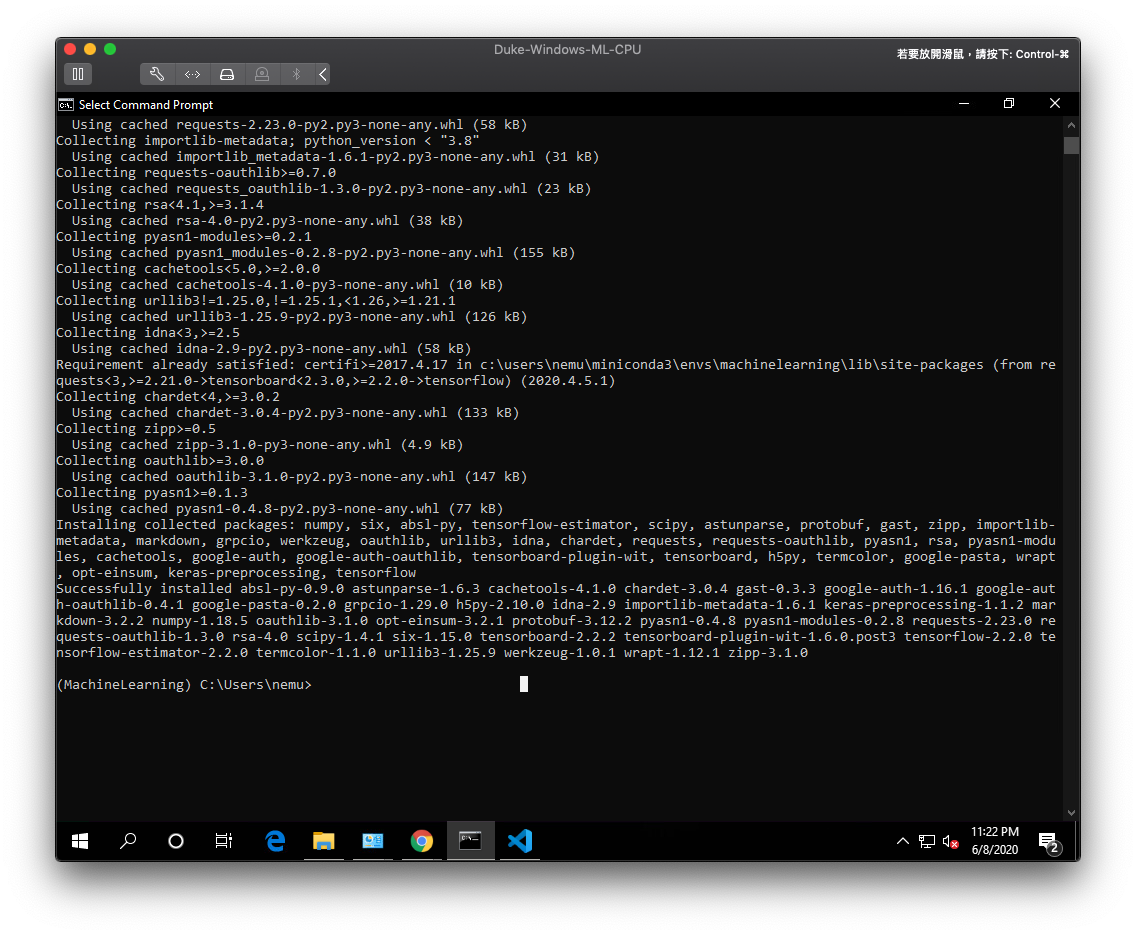
輸入 pip install tensorflow==2.1 安裝機器學習所需要的Python 套件
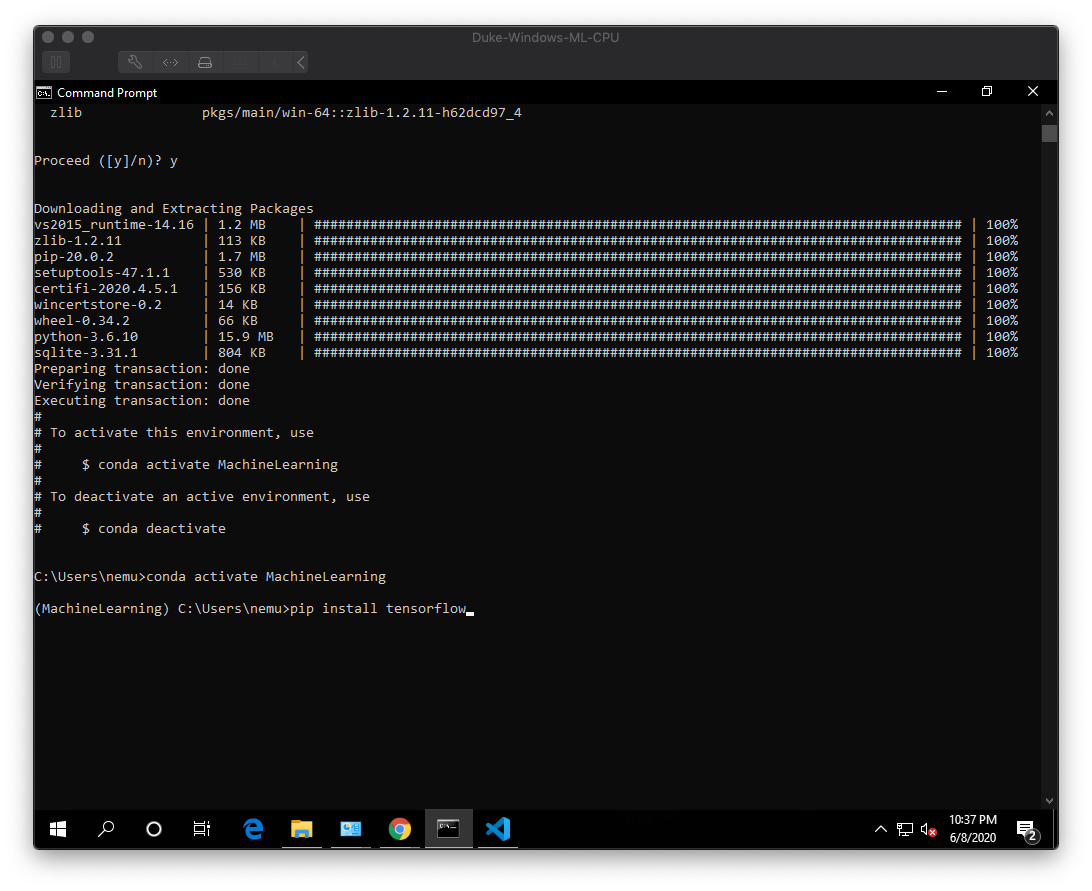
安裝中 .. 近500MB呢!

安裝完成
安裝 Visual Studio Code
安裝好開發環境,接下來準備一個好用的編輯器來寫Code吧!
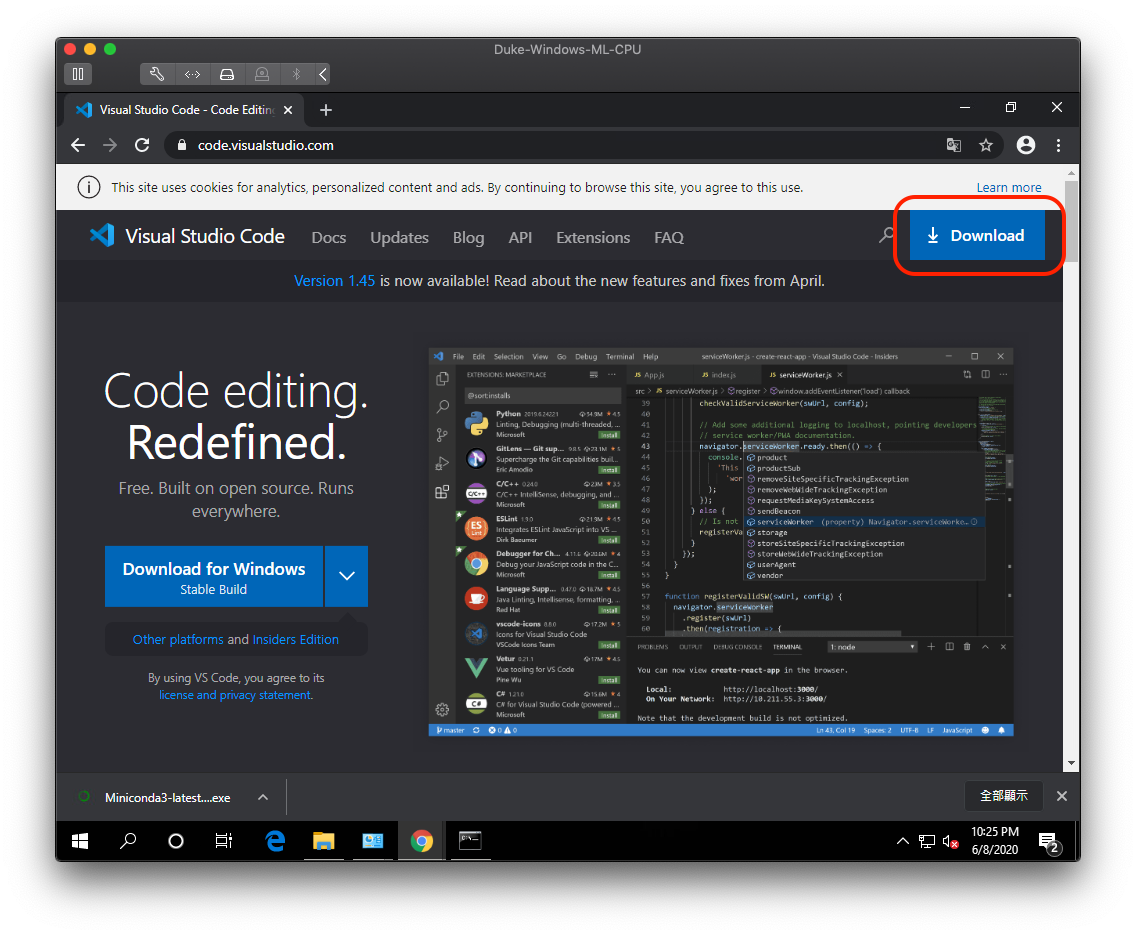
到 Visual Studio Code 官方網站下載軟體,選擇『Download』
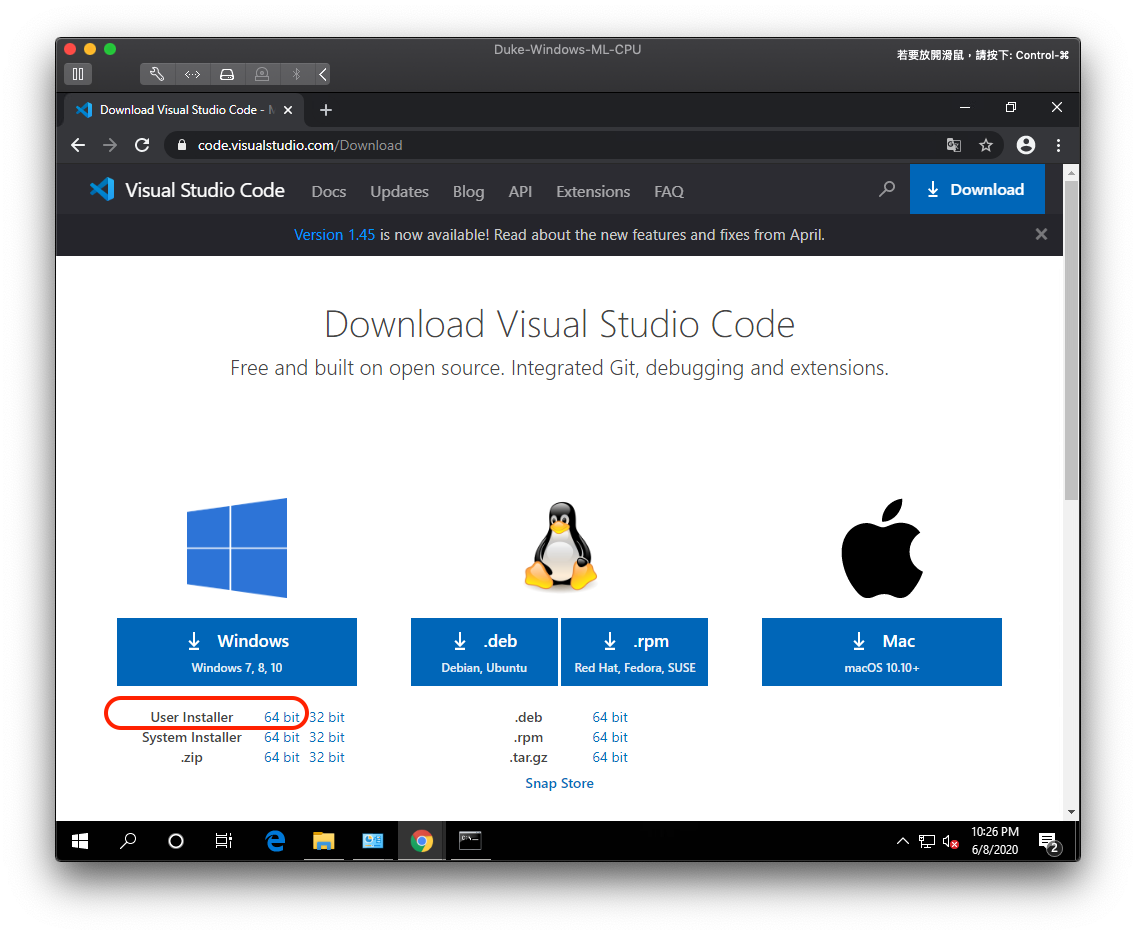
選擇『User Installer 64-bit』就會下載了
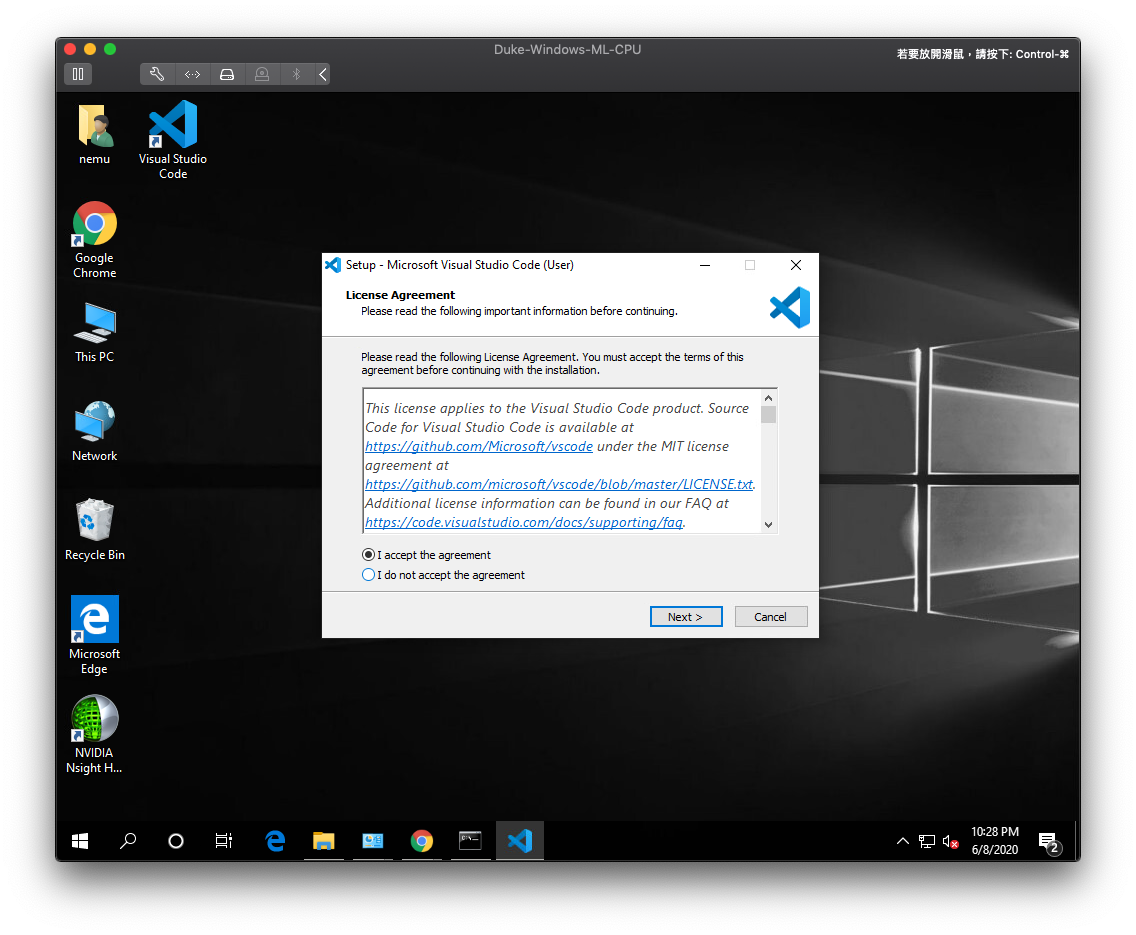
開啟檔案安裝它吧,選擇『I accept the agreement』、『Next』
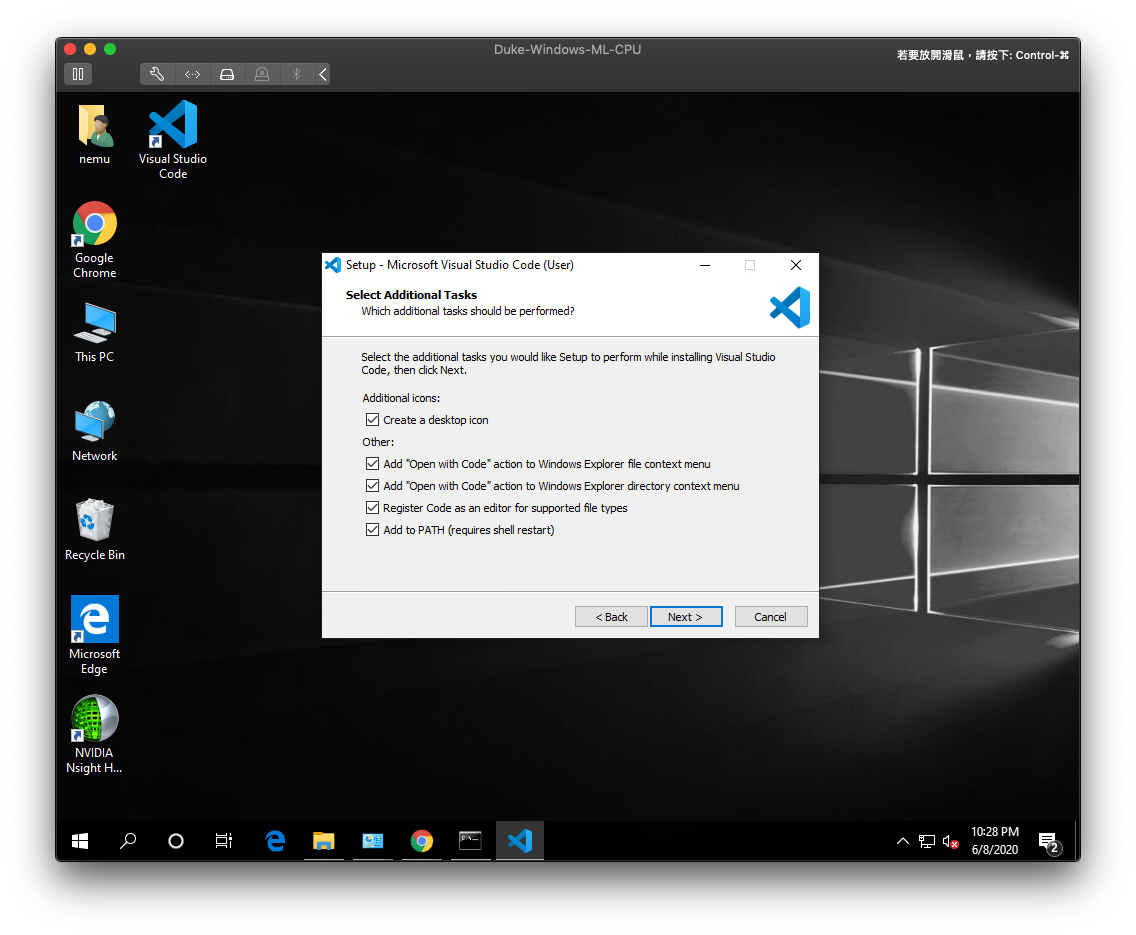
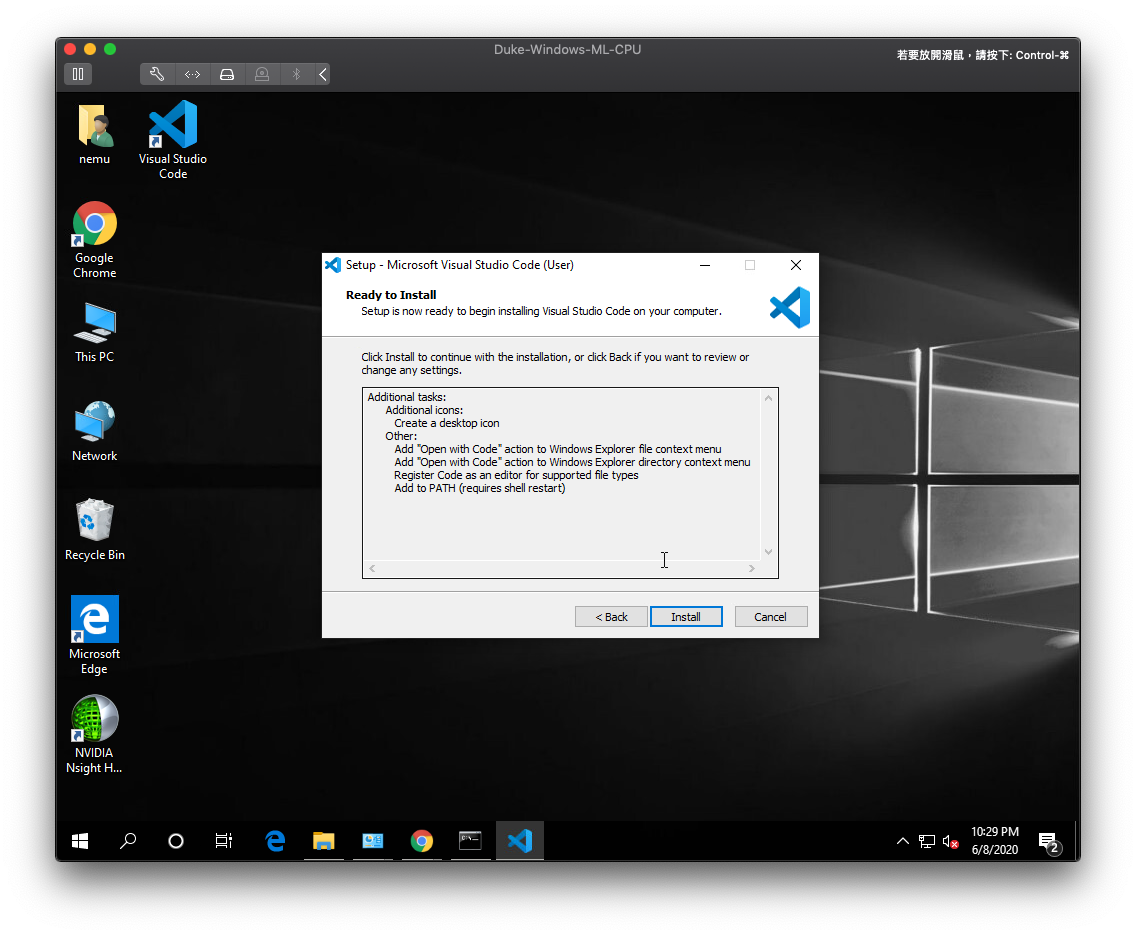
全部勾選,然後『Next』
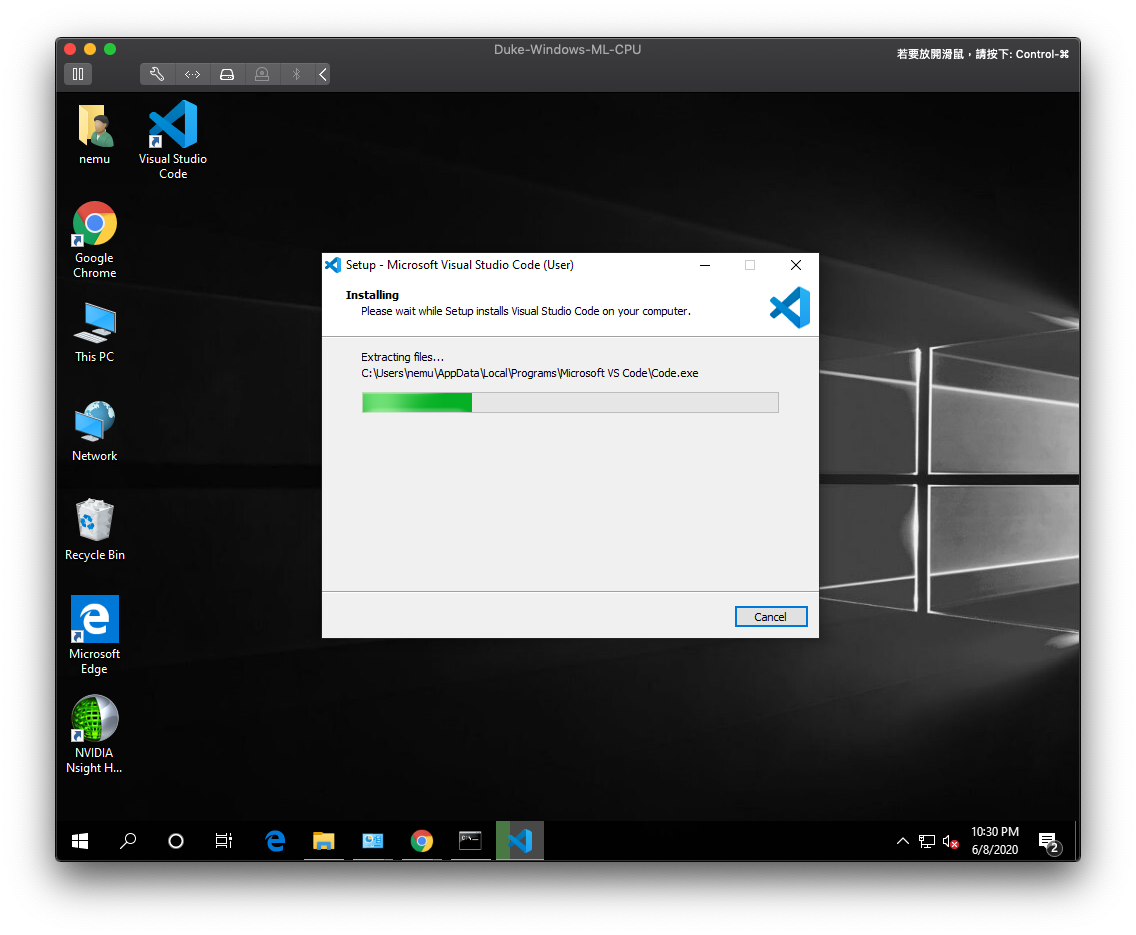
安裝它囉~
安裝中 ..
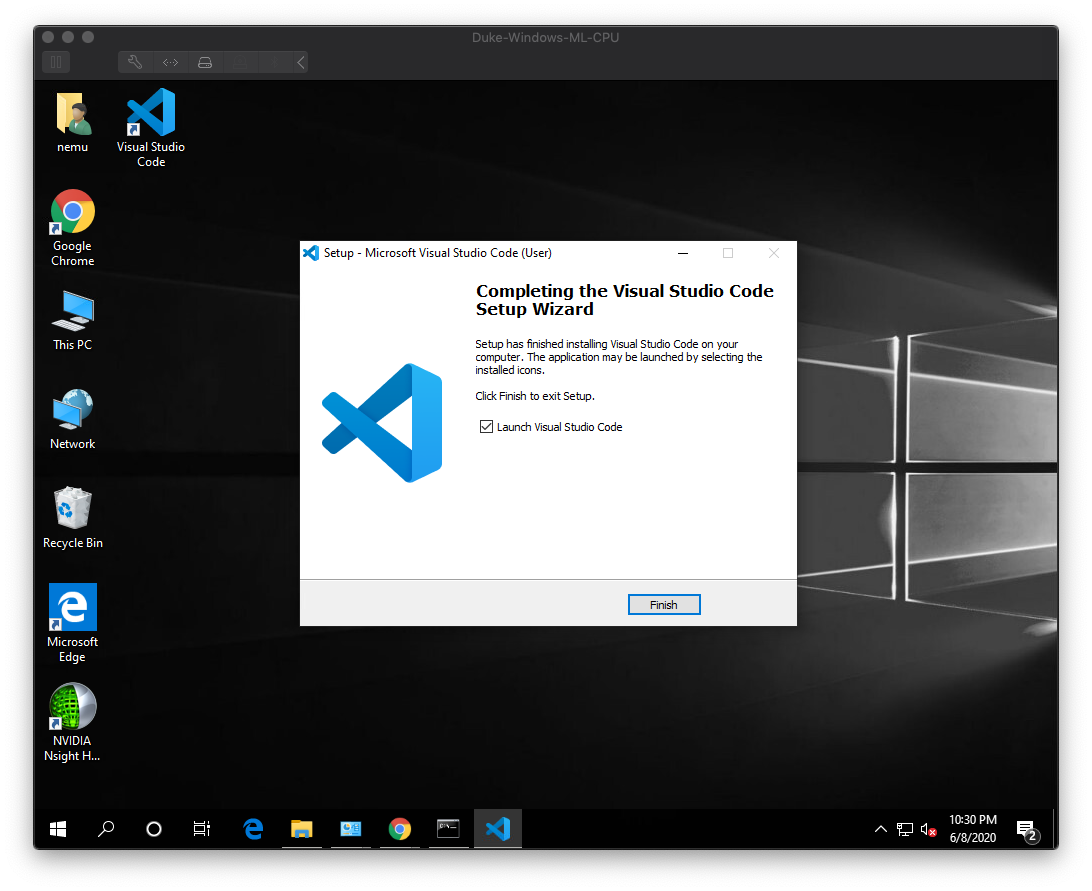
安裝完成,點選『Finish』開啟VS code吧
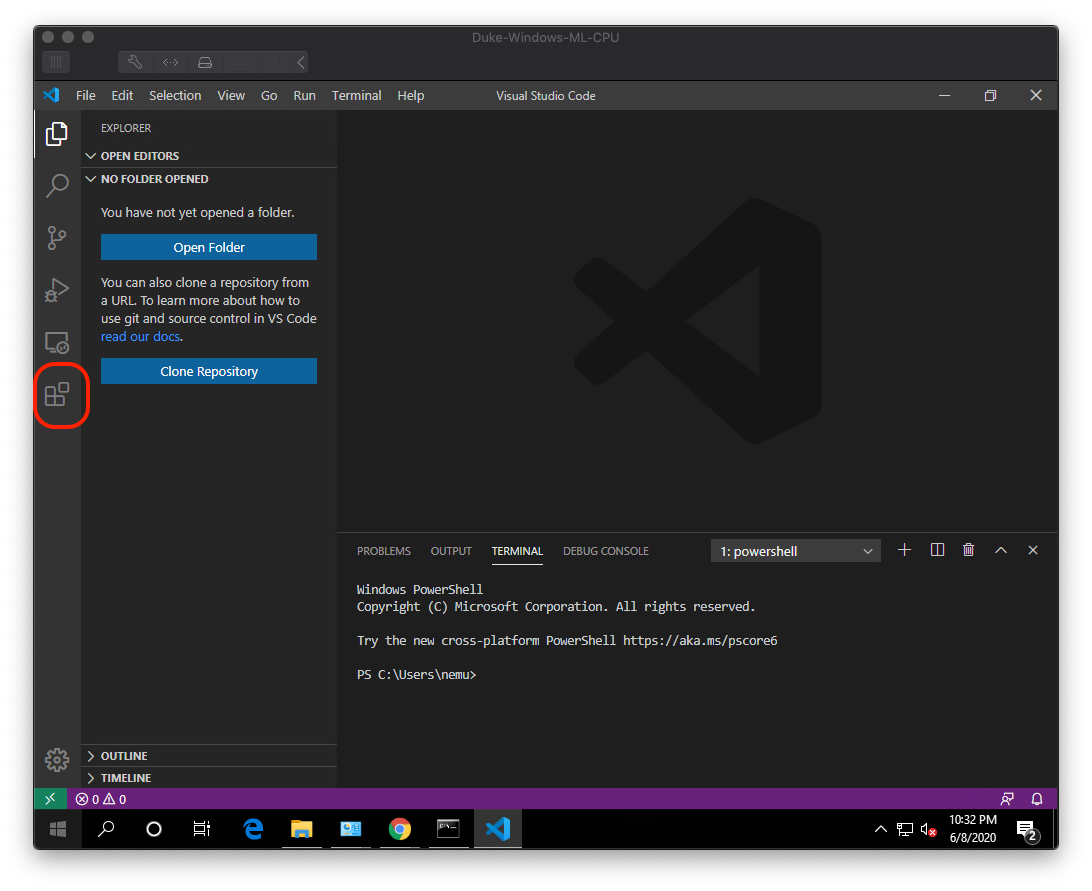
這是Visual Studio Code軟體的畫面,首先我們要先安裝一些幫助開發的Visual Studio Code輔助套件選擇紅框處
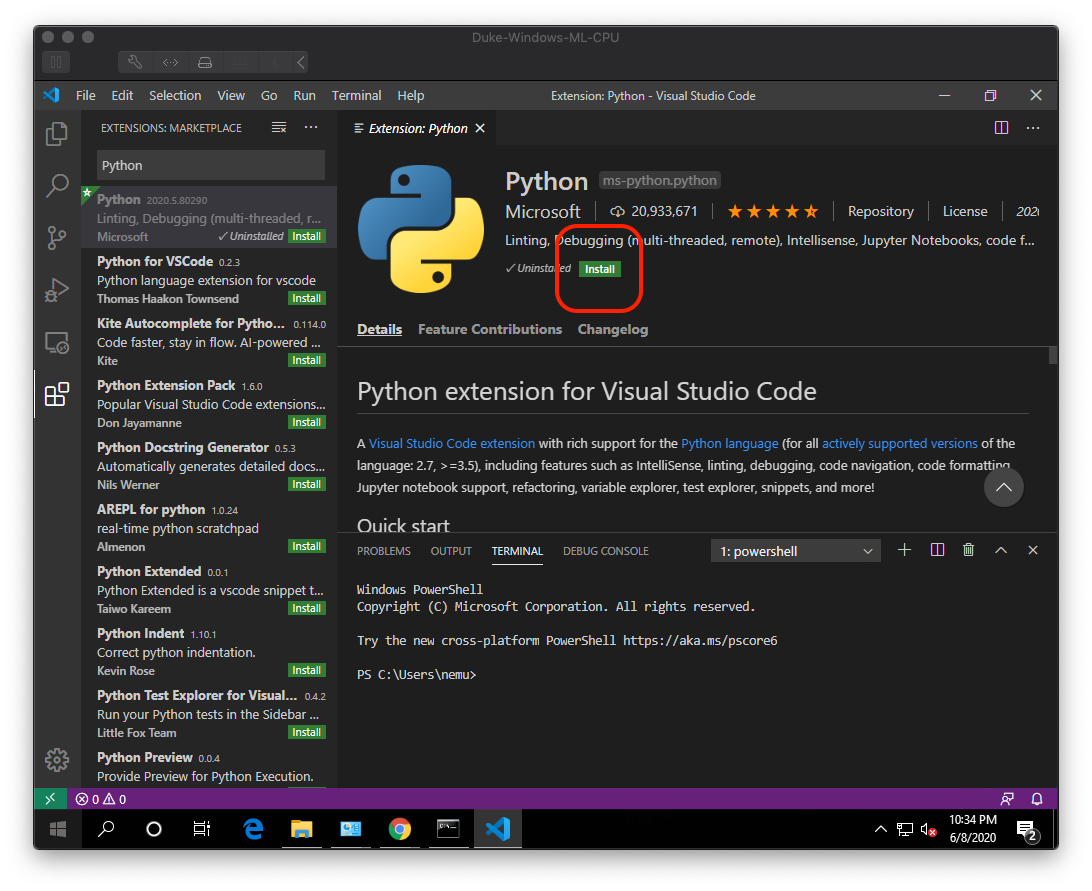
搜尋『Python』選擇第一個然後安裝它吧!
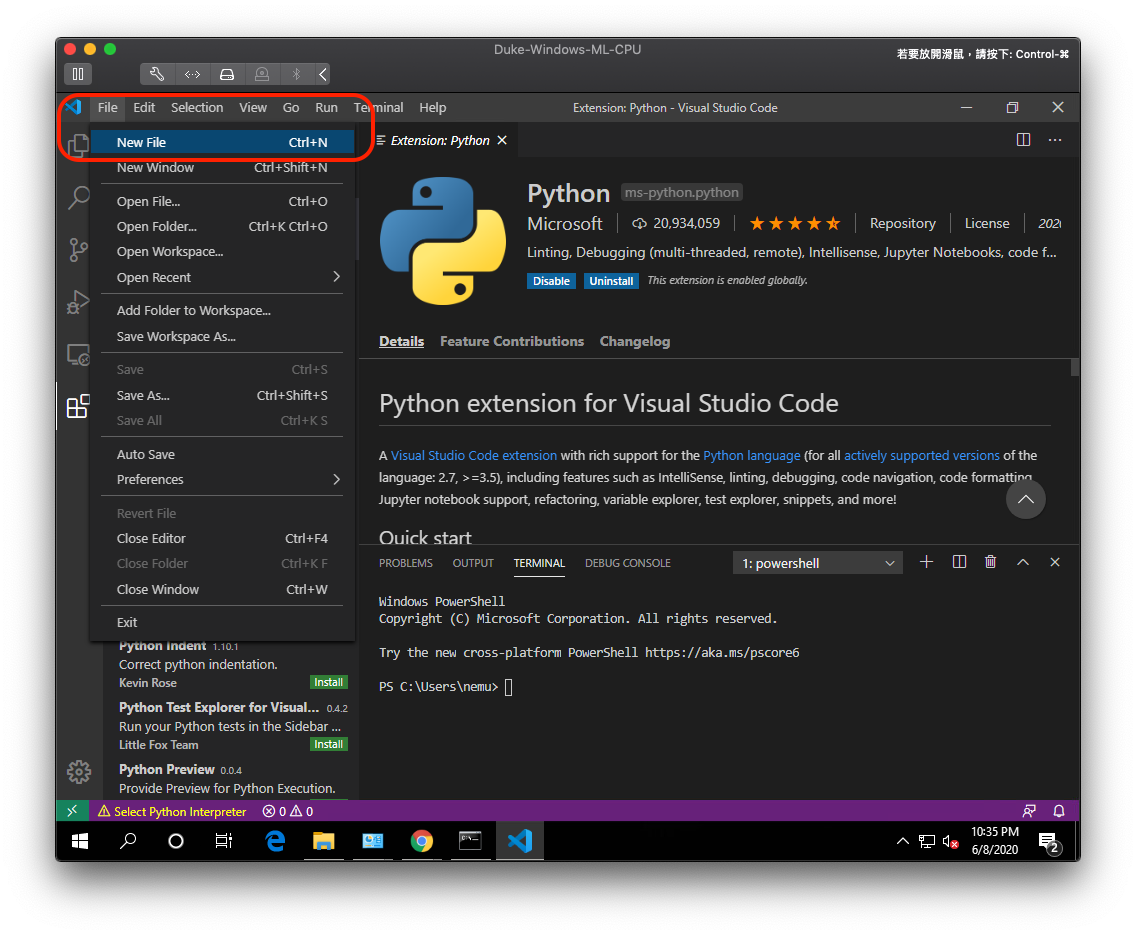
呼~準備工作終於完成了,建立檔案然後開始寫Code吧!
測試開發環境
選擇『File』→ 『New File』
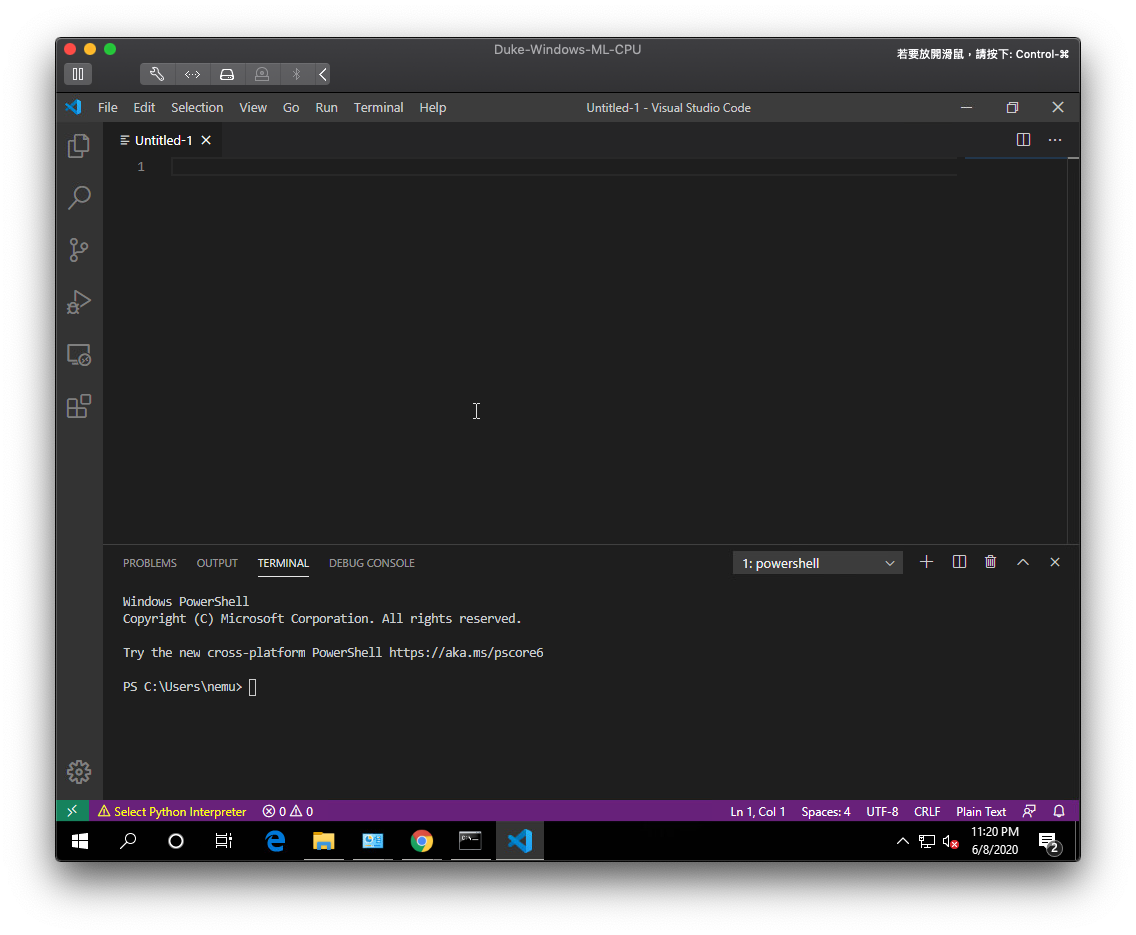
輸入以下測試Code ,來源:TensorFlow 2 quickstart for beginners
1 | import tensorflow as tf |
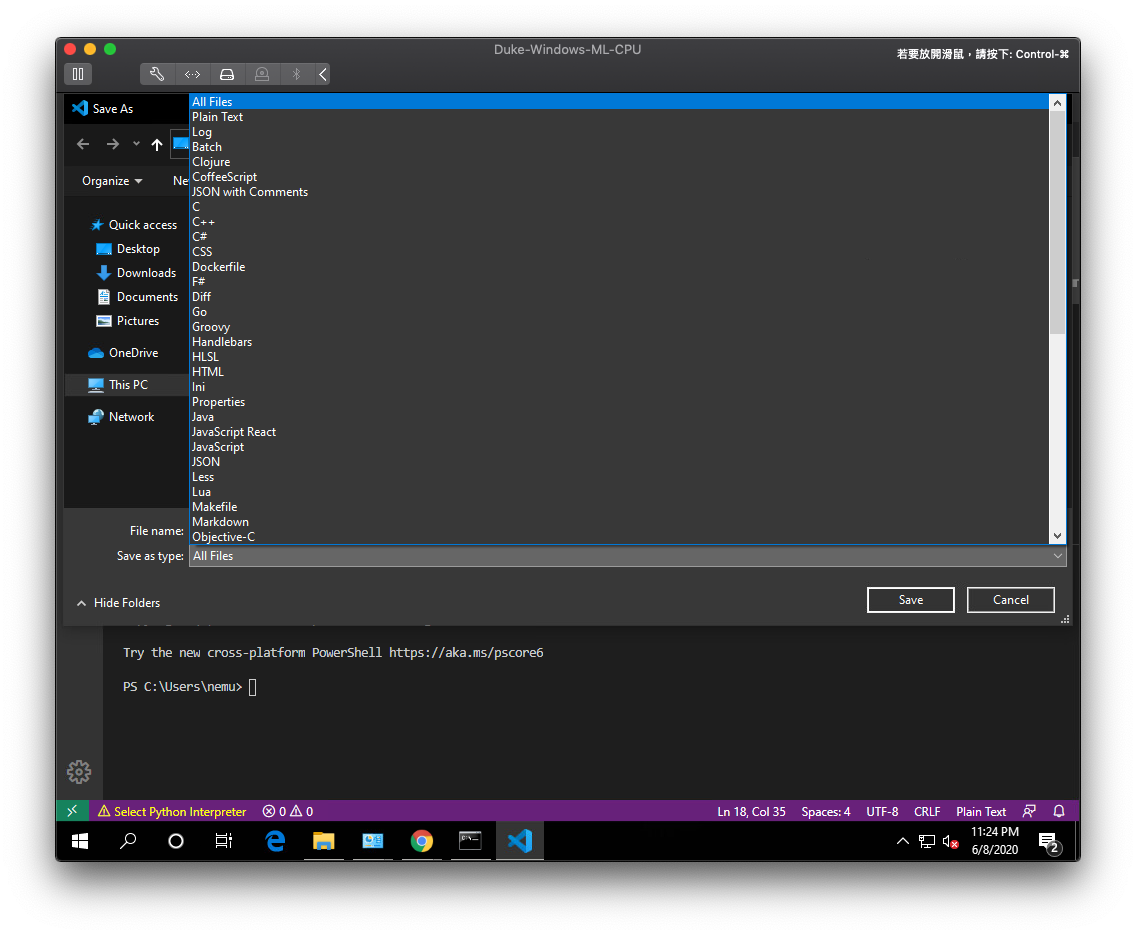
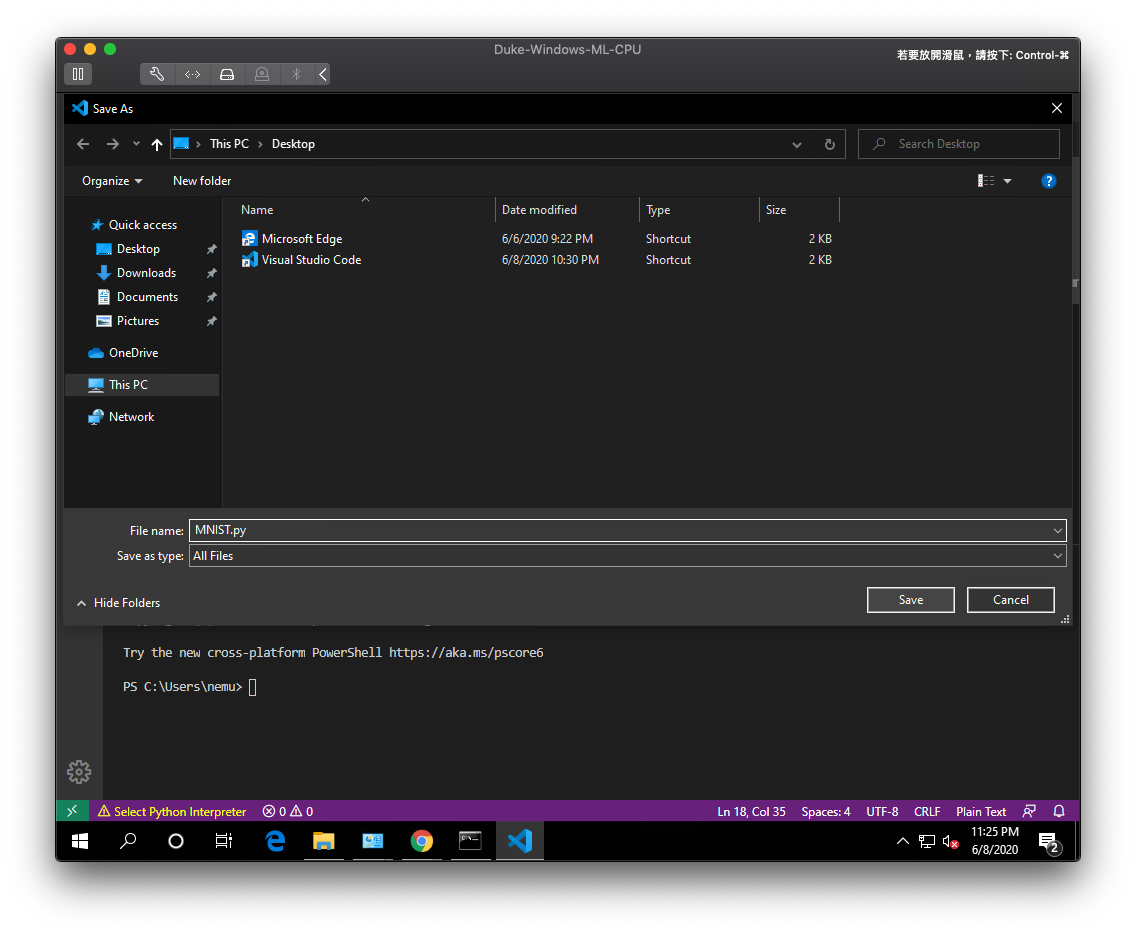
存檔,檔名後綴要有 .py 哦!
選擇Save type : All Files
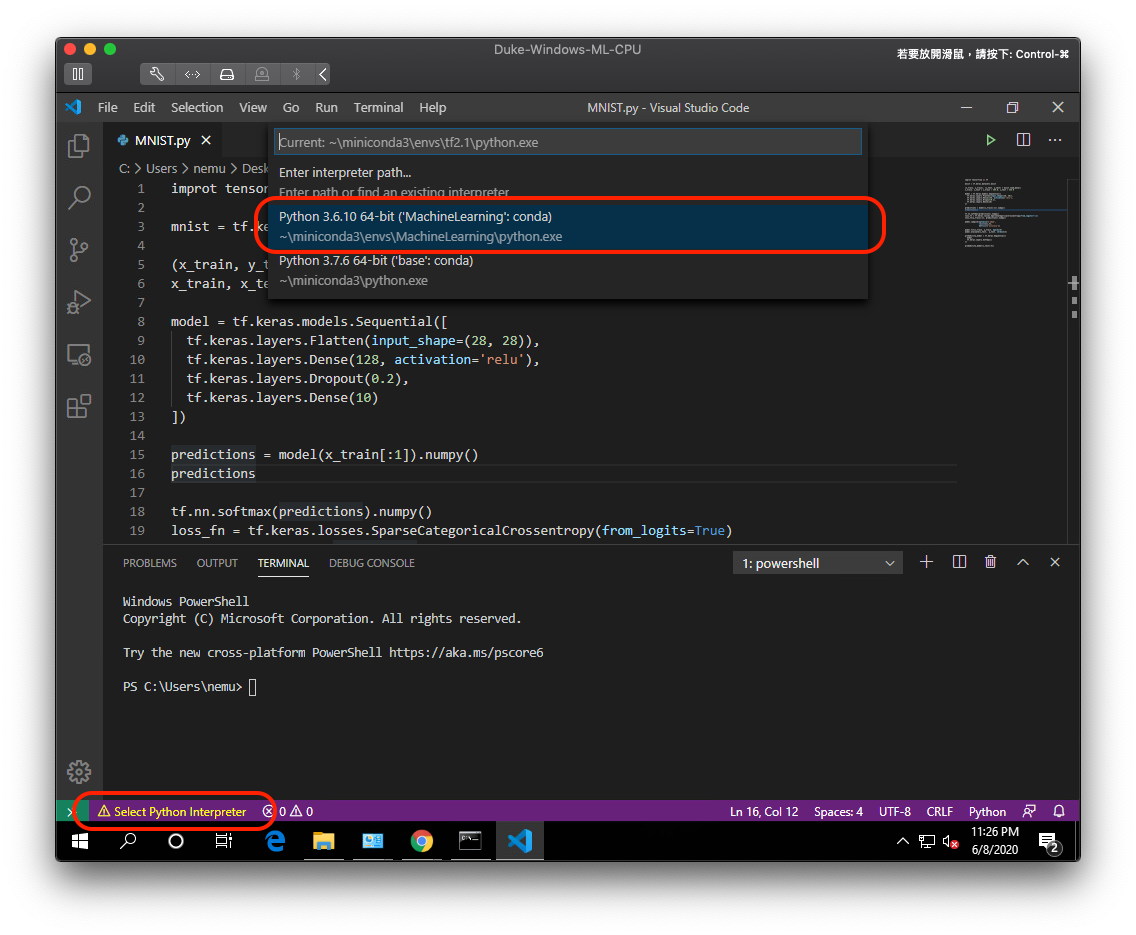
選擇『Select Python Interpreter』選擇剛剛建立的虛擬環境『MachineLearning』
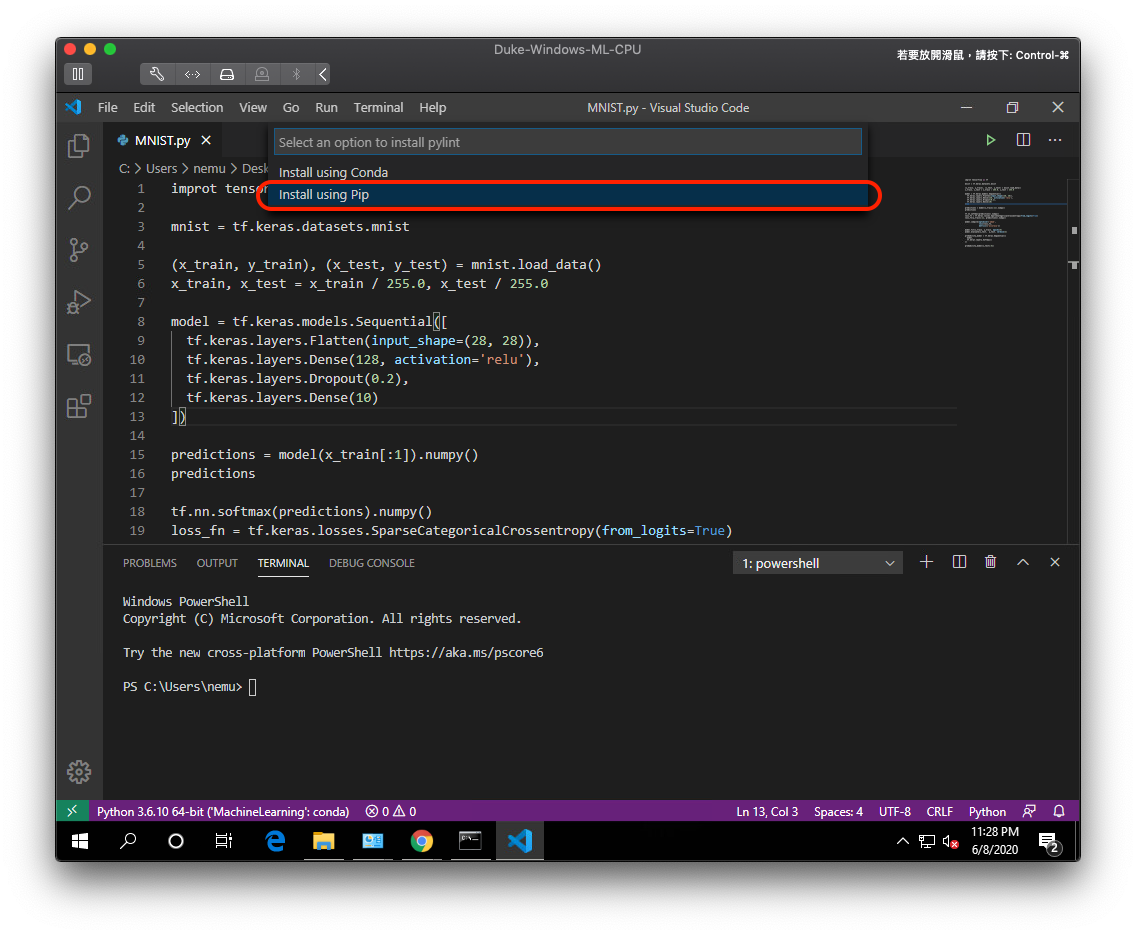
當右下角跳出此畫面時,選擇『Install』
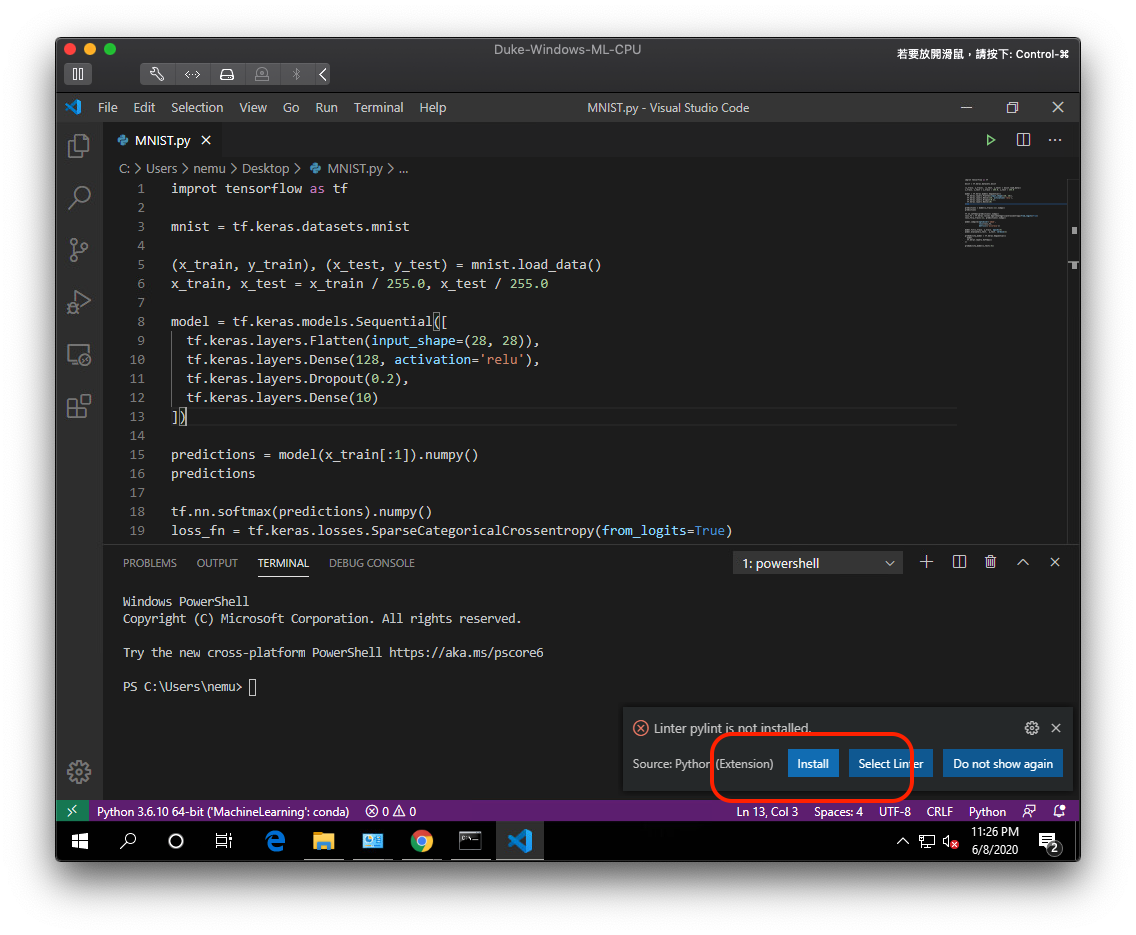
選擇使用『Pip』安裝
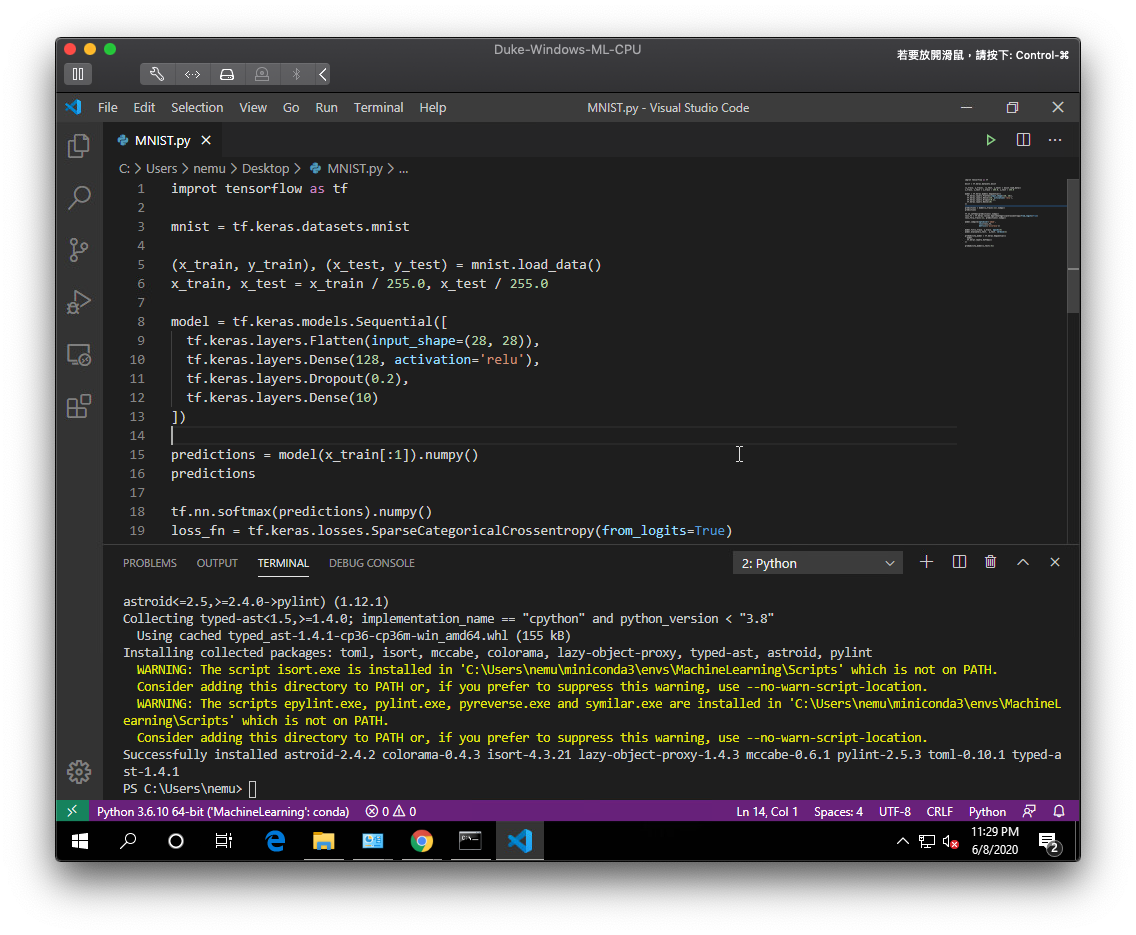
安裝完成
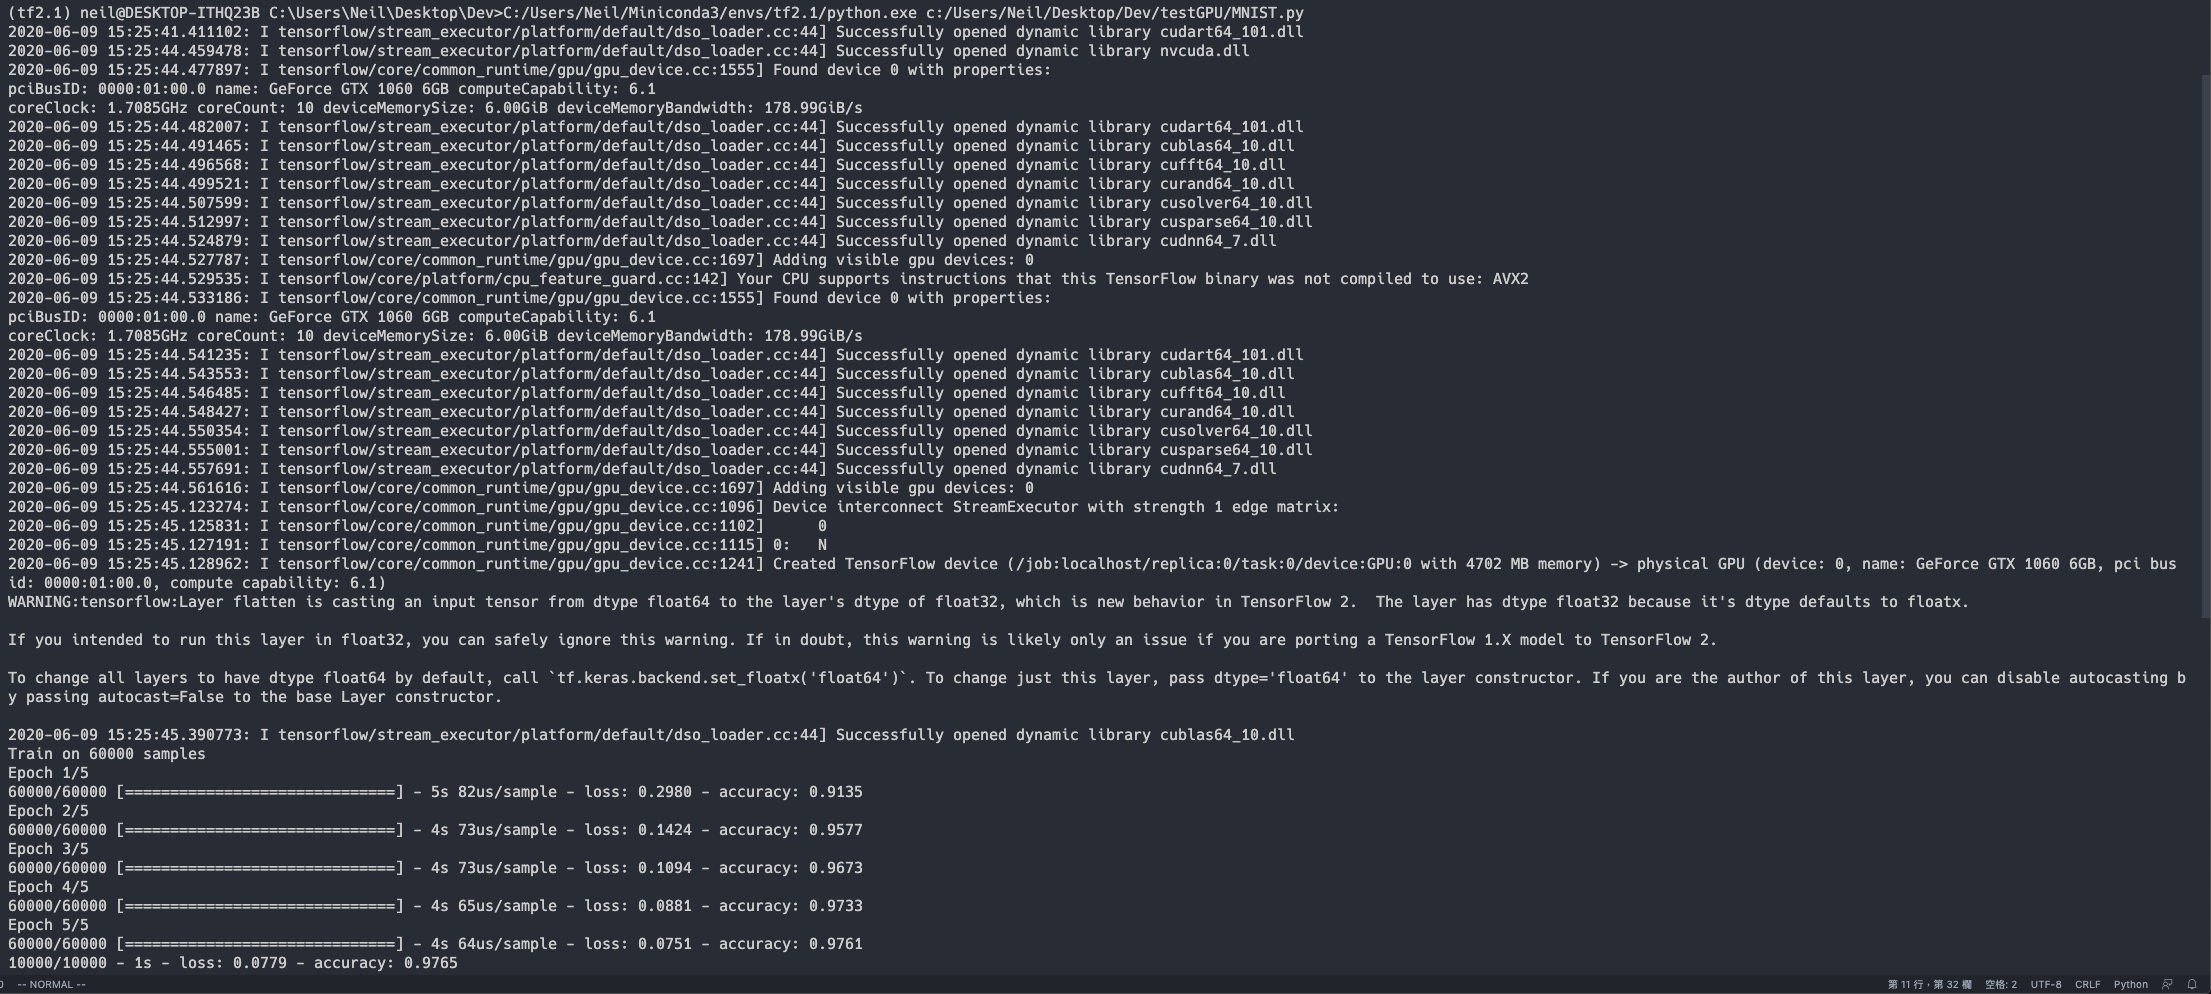
選擇『Run Python in Terminal』程式就開始執行囉!
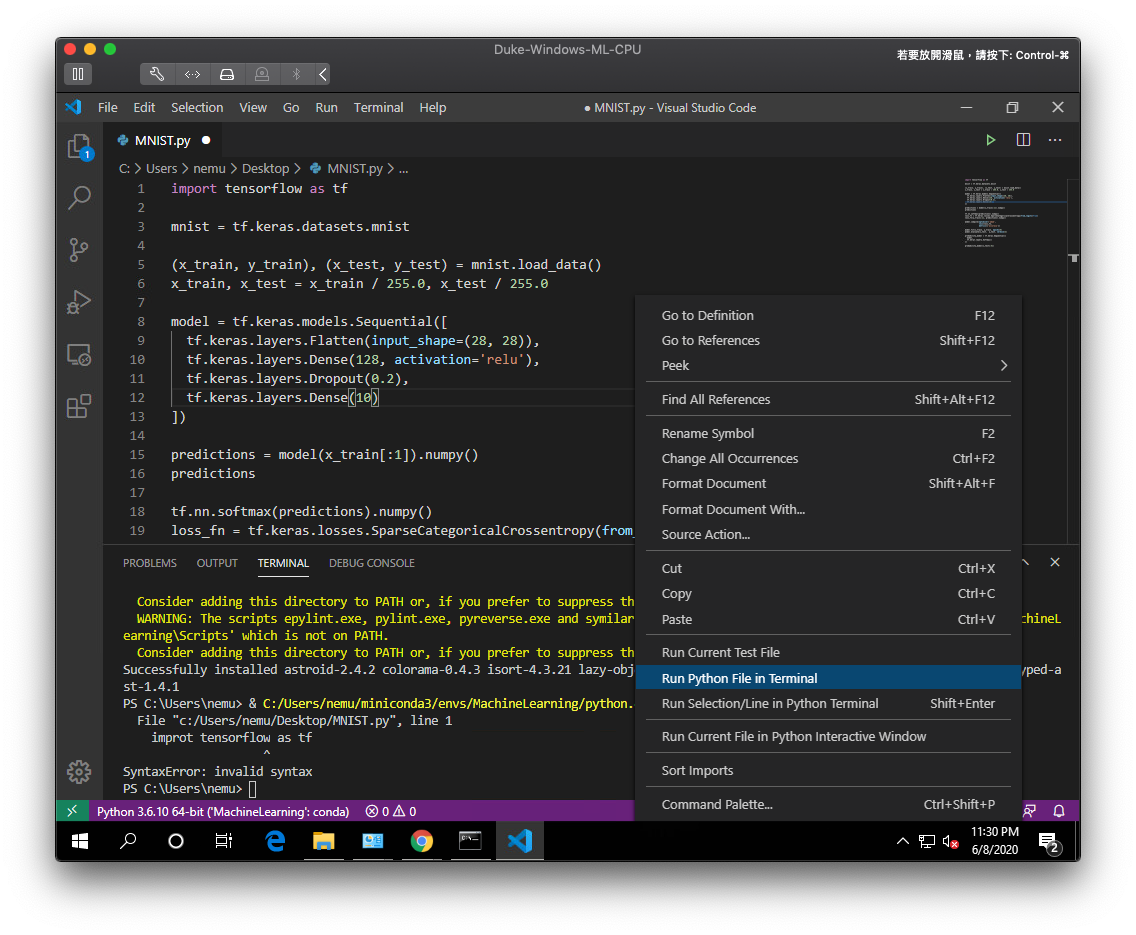
執行結果: