重新安裝ssh server
1 | sudo apt-get remove openssh-server |
ssh允許使用root登入
1 | sudo vim /etc/ssh/sshd_config |
ssh免密碼登入
建立ssh rsa key
1 | [neil@yimincai.net ~]$ ssh-keygen -t rsa |
Create .ssh Directory on host server
1 | [neil@yimincai.net ~]$ ssh alyssa@192.168.50.6 mkdir -p .ssh |
Copy public key to host server
1 | cat ~/.ssh/id_rsa.pub | ssh alyssa@192.168.50.6 'cat >> .ssh/authorized_keys' |
重新啟動ssh服務
1 | service ssh restatus |
確認ssh服務狀況
1 | service ssh status |
防火牆設定允許ssh服務
1 | sudo ufw allow ssh |
設定Python環境
1. 使用Python3
1 | sudo apt-get install python3-venv |
建立Python3虛擬環境
1 | # 在當前資料夾建立環境 |
啟動環境
1 | source ./<venvName>/bin/activate |
2. 使用Conda作為Python環境
(Option)移除Python 3.6
⚠ 不要輕易移除,曾試過移除後GUI失效
1 | sudo apt-get remove python3.6 |
移除Python 3.4及其dependent
1 | sudo apt-get remove --auto-remove python3.6 |
清除Python 3.4
1 | sudo apt-get purge python3.4 |
安裝 Conda for Python 3.7 64bit
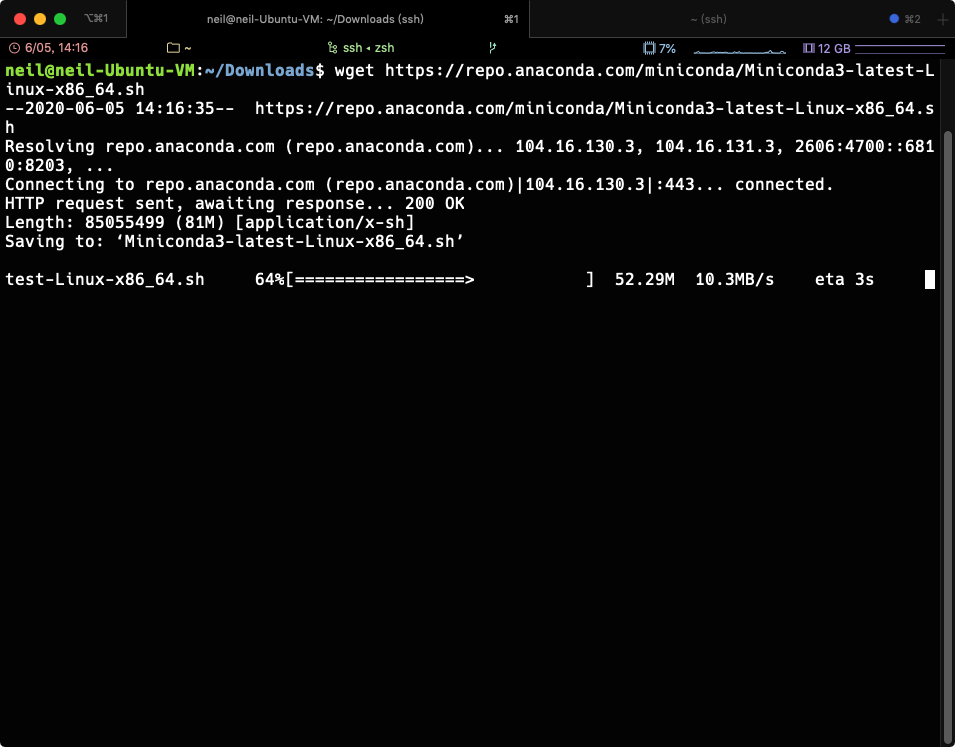
可以到Conda Docs頁面確認下載版本或使用下方範例(Python 3.7)
1 | cd ~/Download |
更改檔案權限
1 | sudo chmod +x ./Miniconda3-latest-Linux-x86_64.sh |
安裝
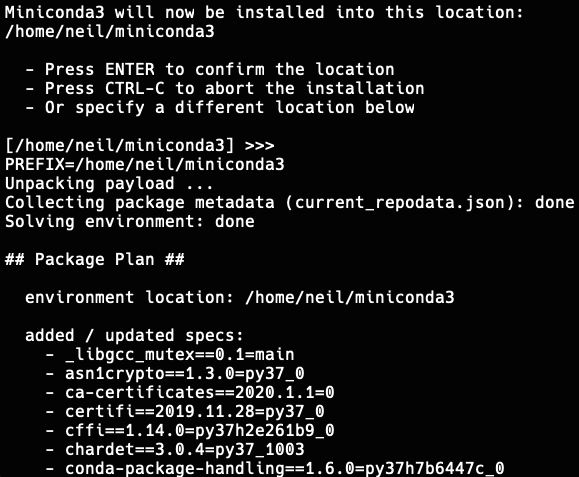
1 | ./Miniconda3-latest-Linux-x86_64.sh |
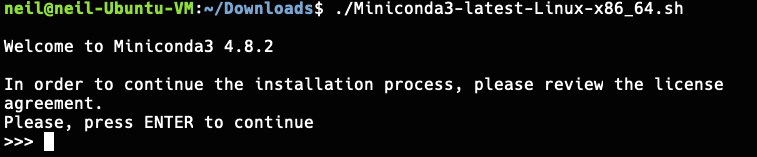
同意license terms

Hit Enter
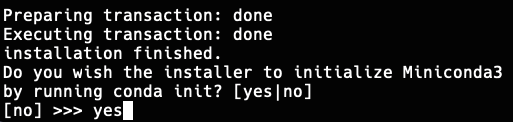
Type “yes”
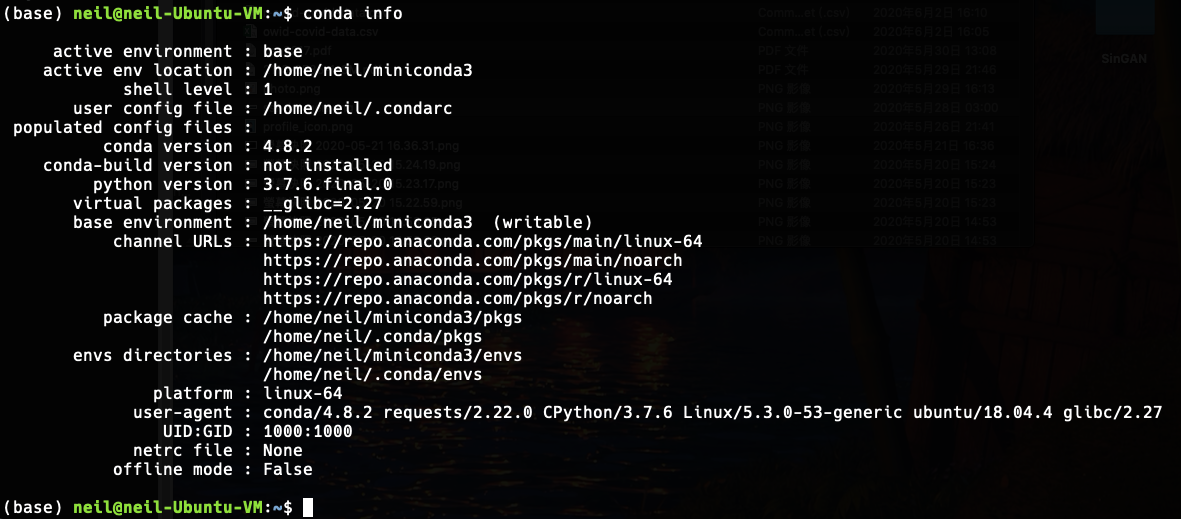
重啟Terminal、測試command
1 | conda info |
建立Conda venv(虛擬環境)
確認安裝了多少個虛擬環境
1 | conda env list |
假設建一個名為 ml 的 venv 並設定Python 為3.6
1 | conda create --name ml python=3.6 |
Press y
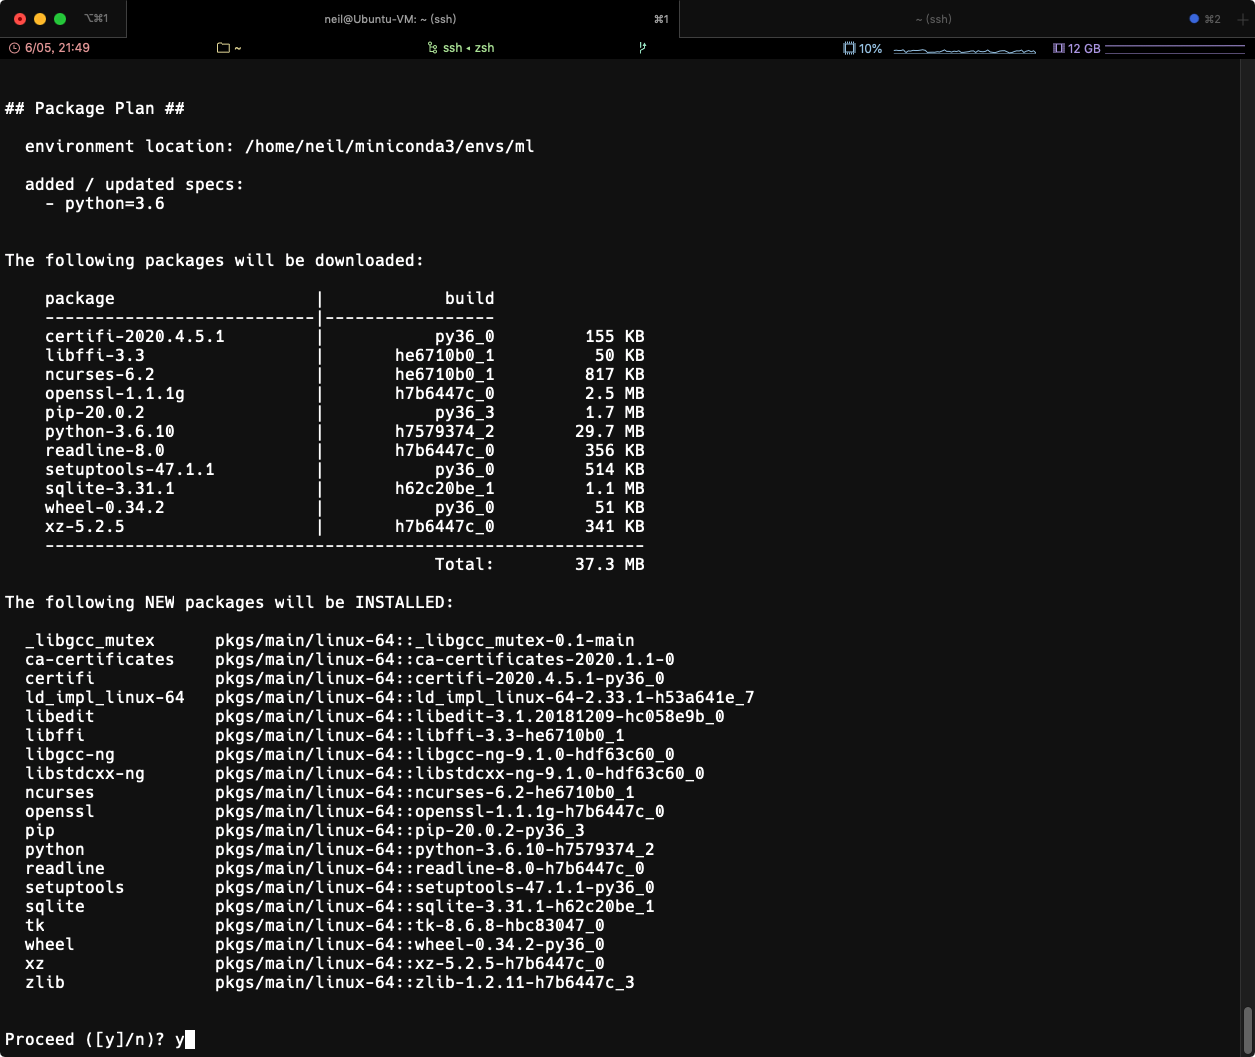
1 | # To activate this environment, use |
刪除虛擬環境或package
1 | conda remove --name ml numpy |
刪除虛擬環境
1 | conda env remove --name myenv |
安裝 Machine Learning 相關環境
安裝常用環境,可參考下方文章
1 | pip install numpy |
⚠ 若在 import tensorflow as tf 時出現: Illegal instruction (core dumped)經確認是CPU缺少avx指令集的關係(CPU架構太舊不支援)。
可降低Tensorflow版本解決
1 | pip uninstall tensorflow |